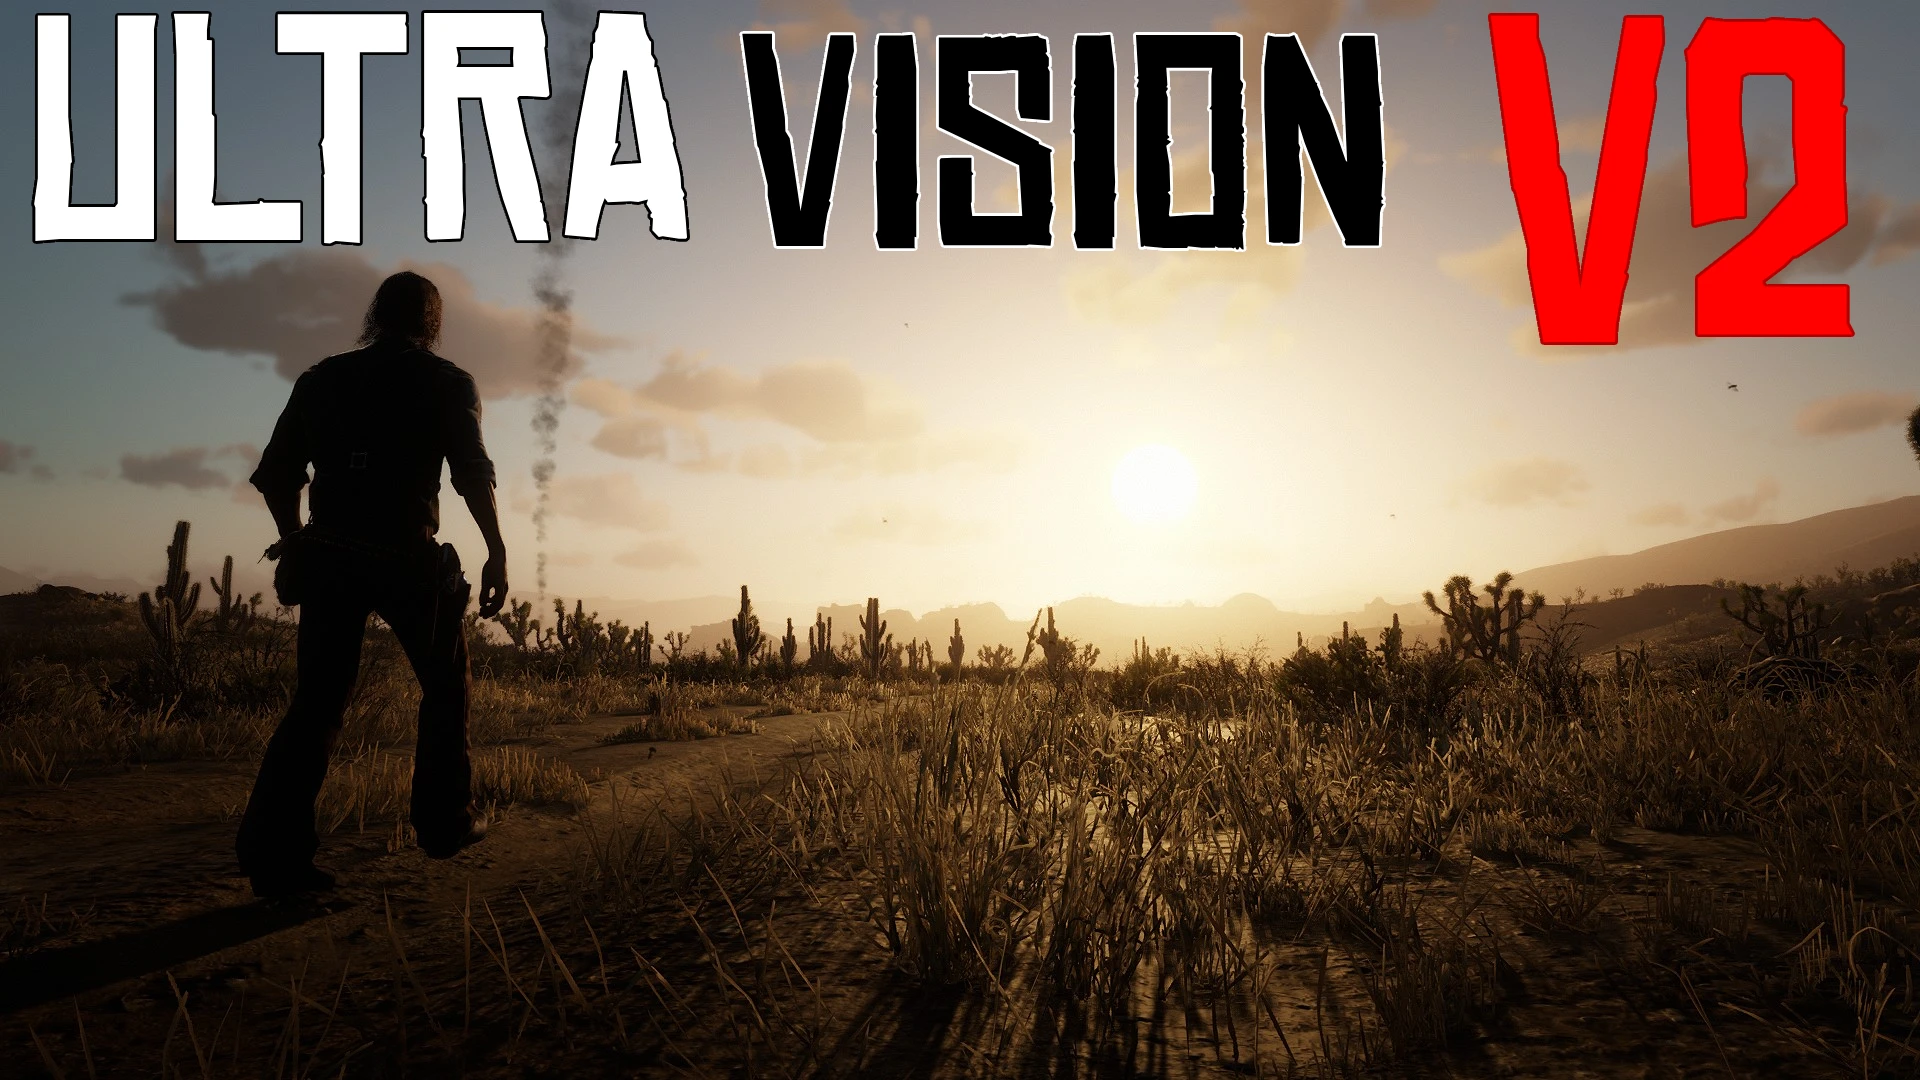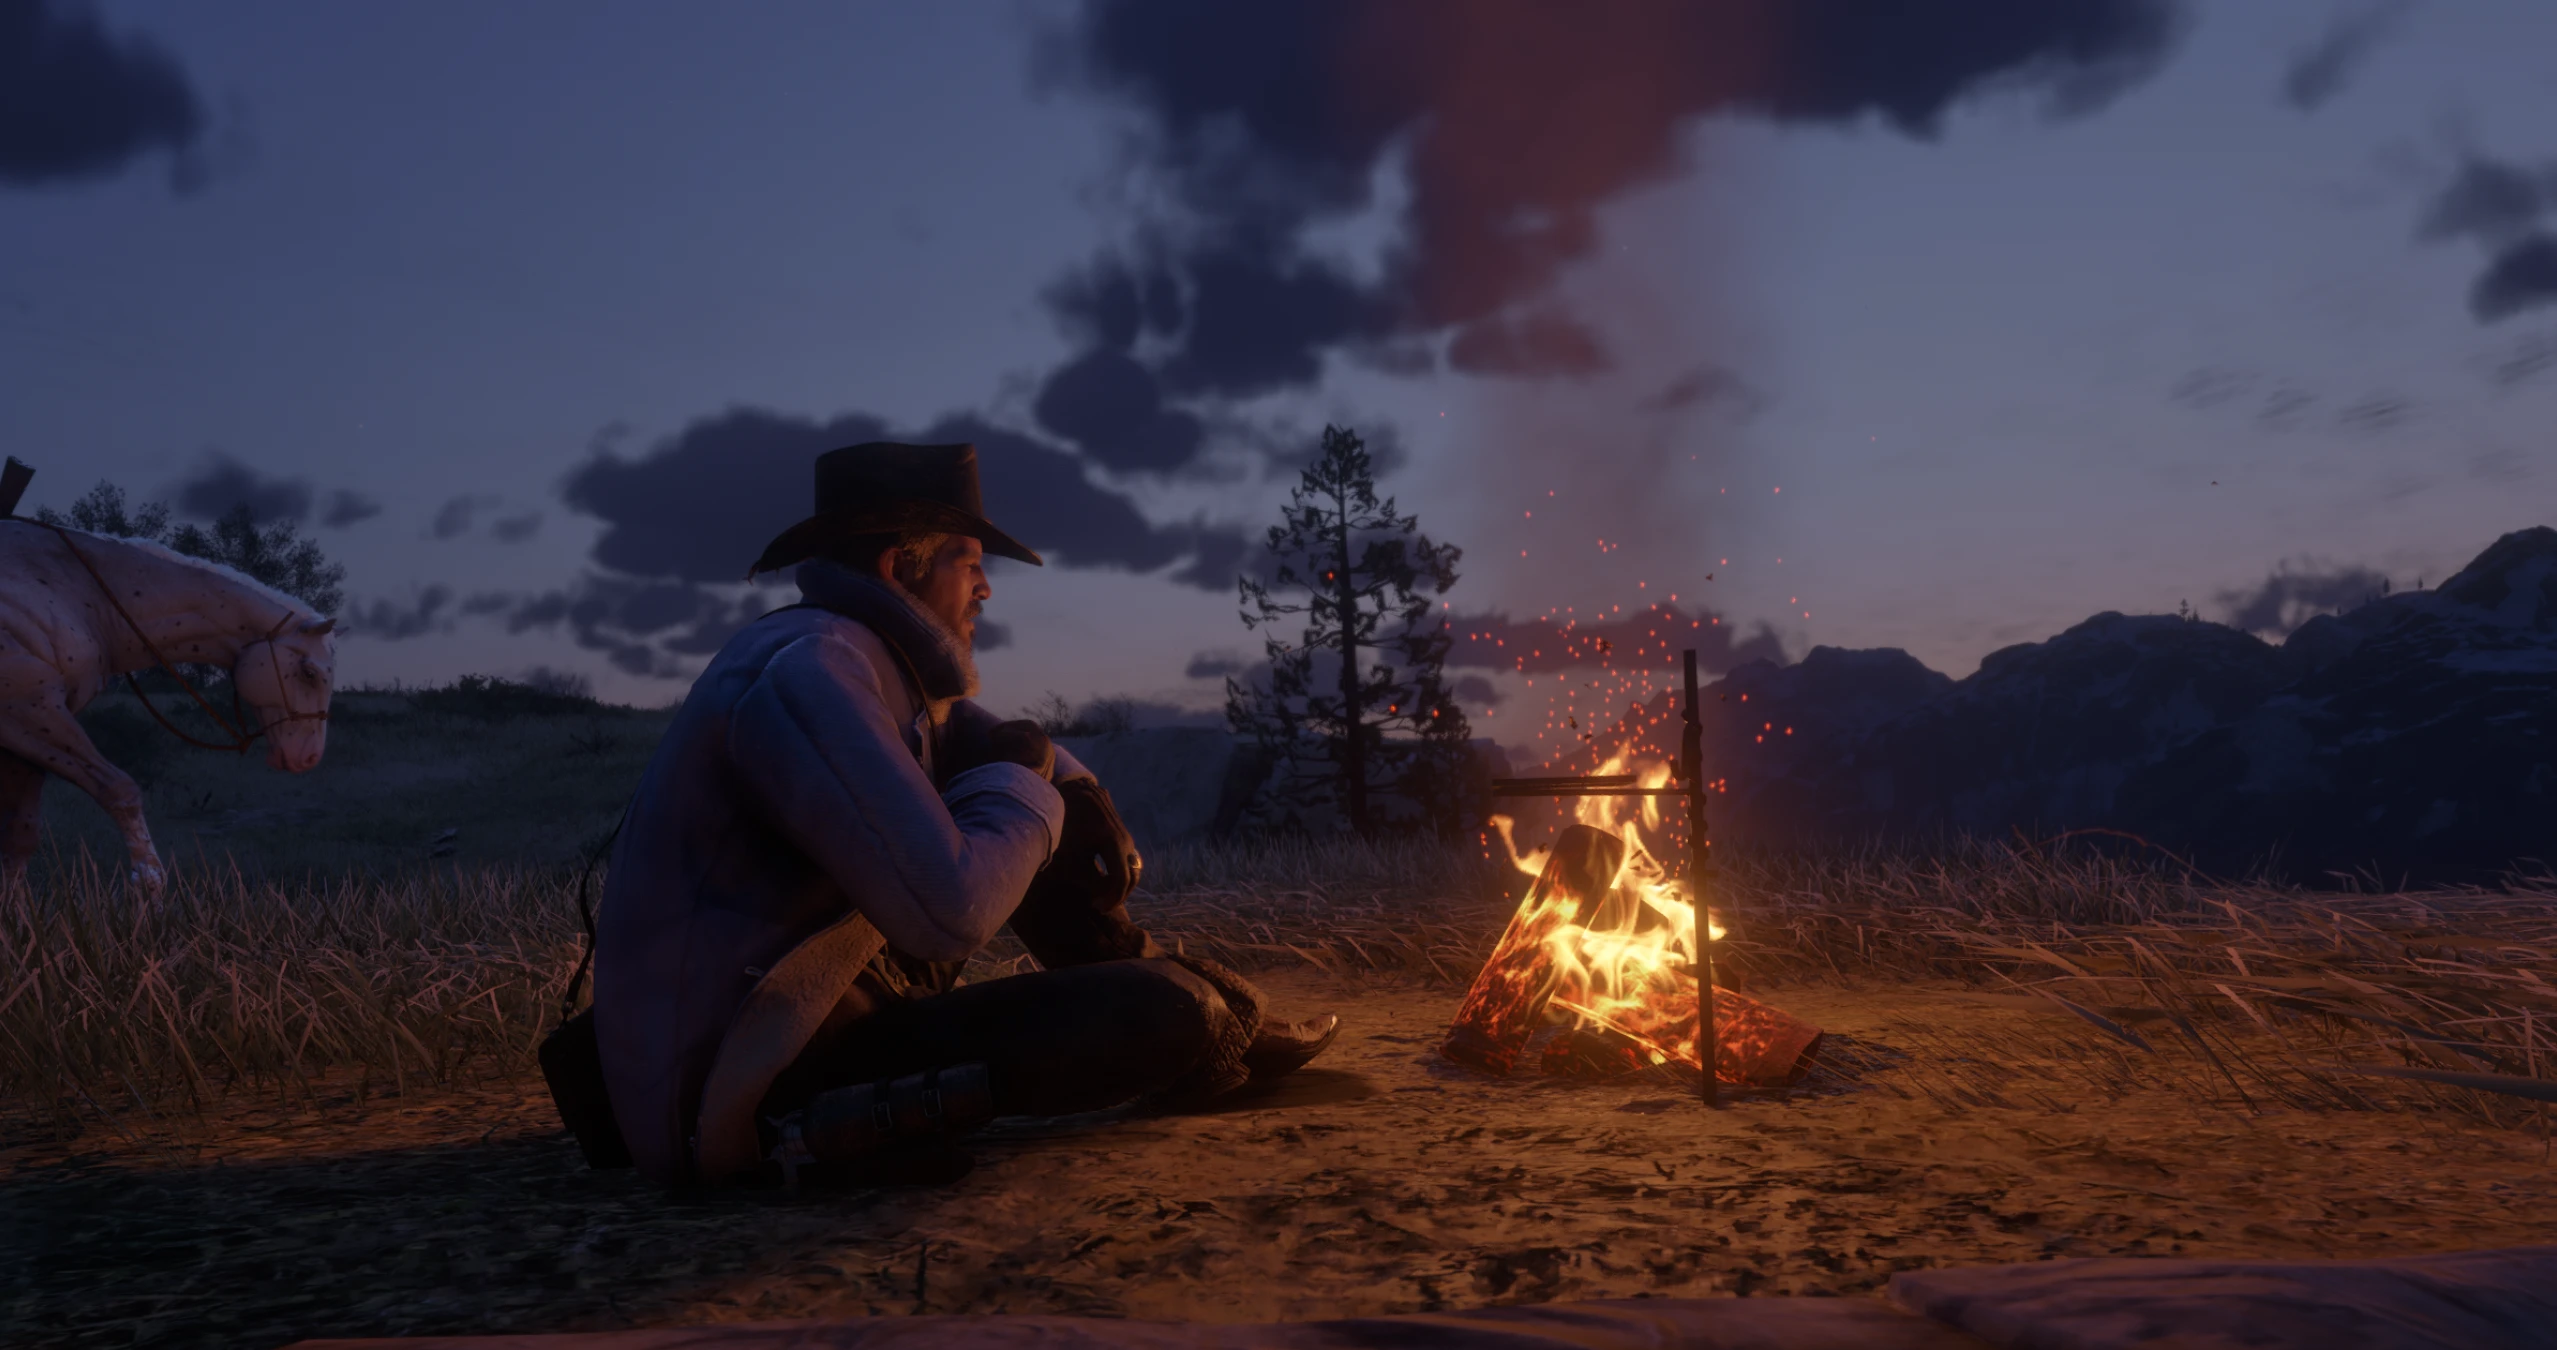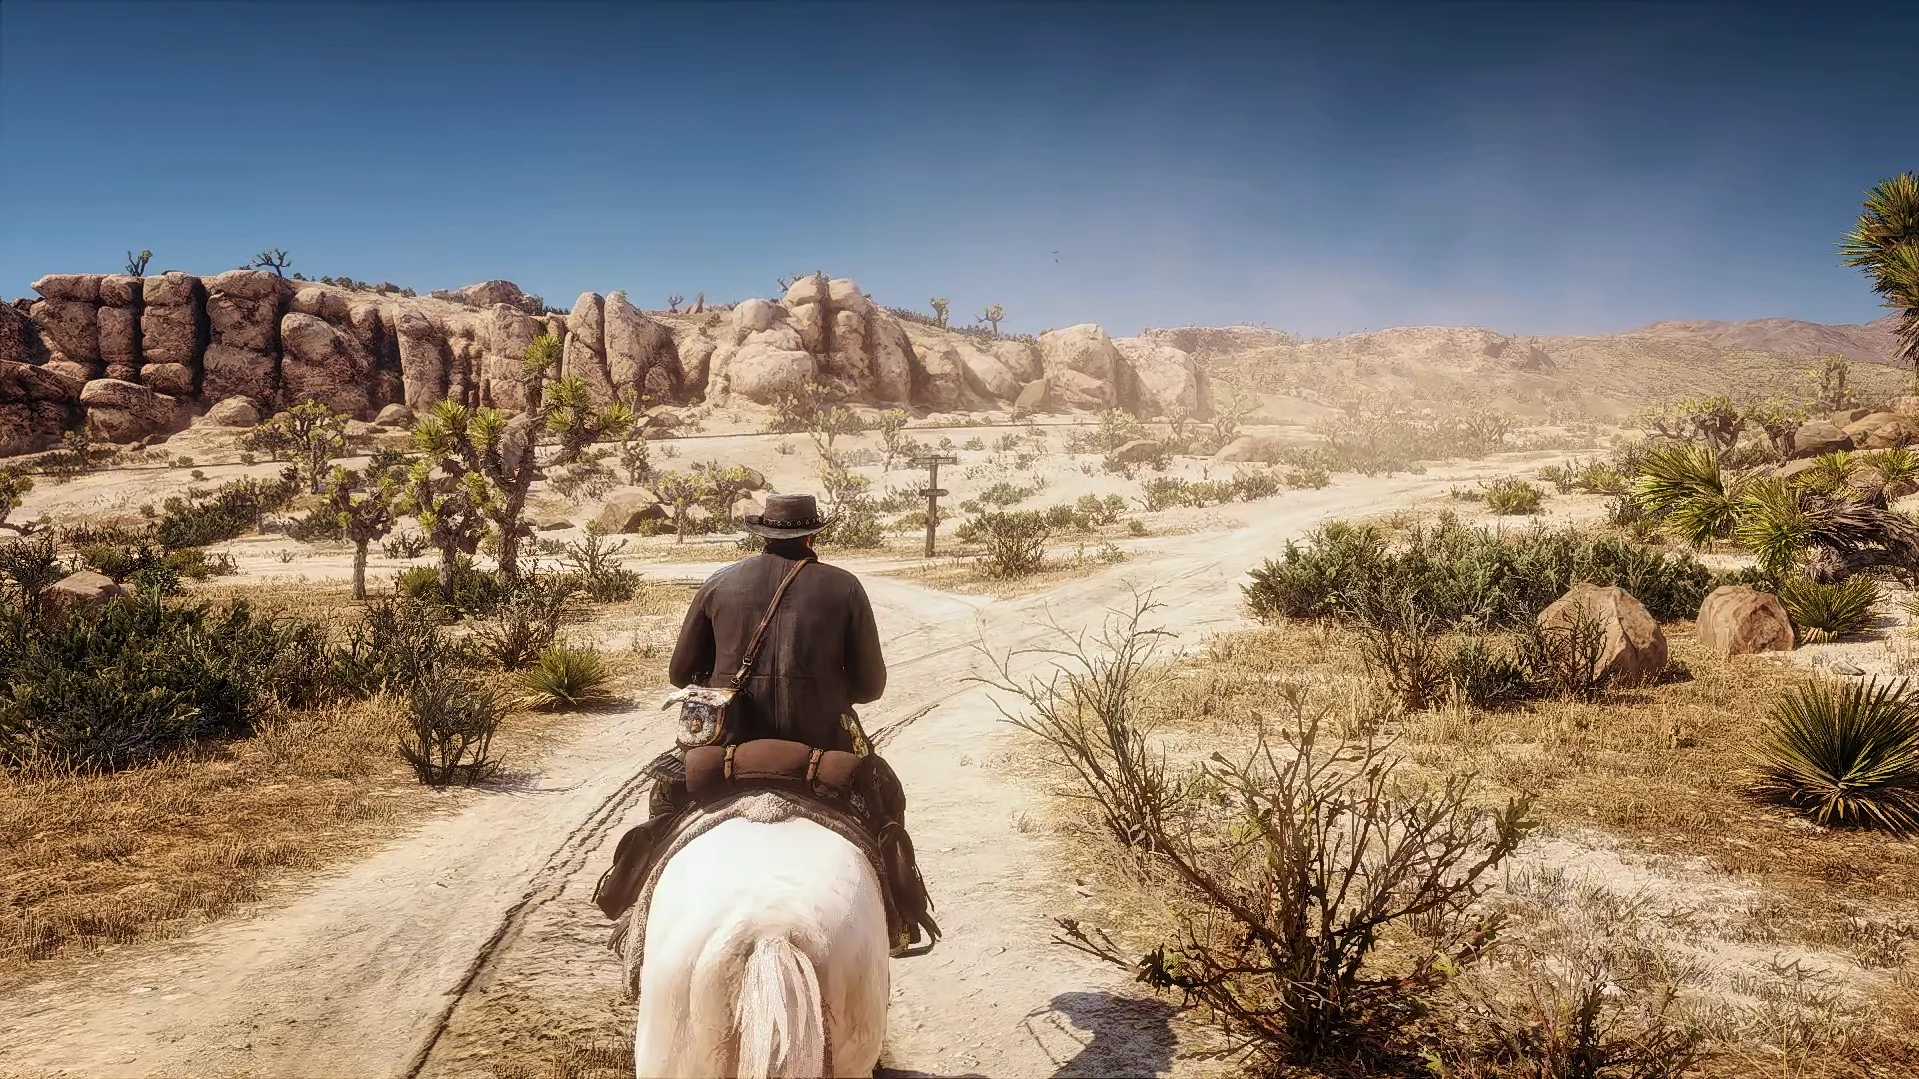
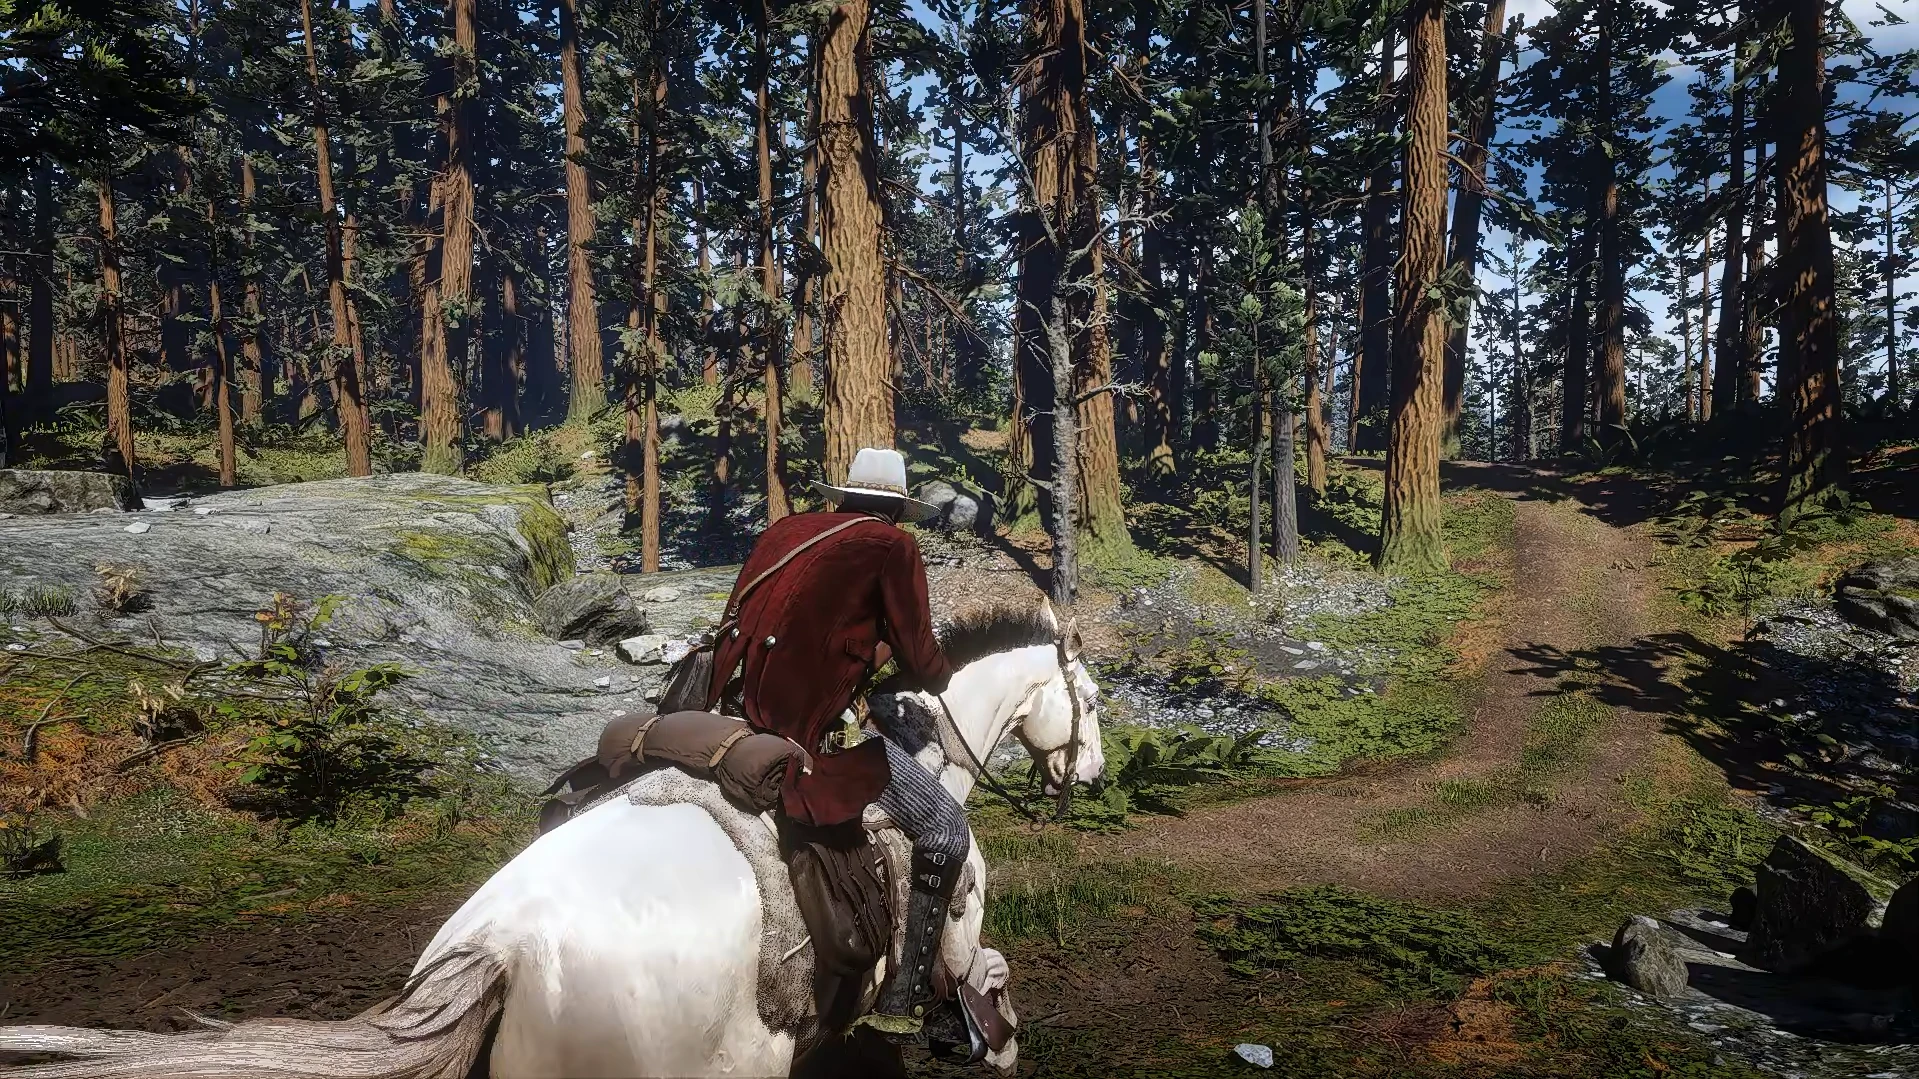
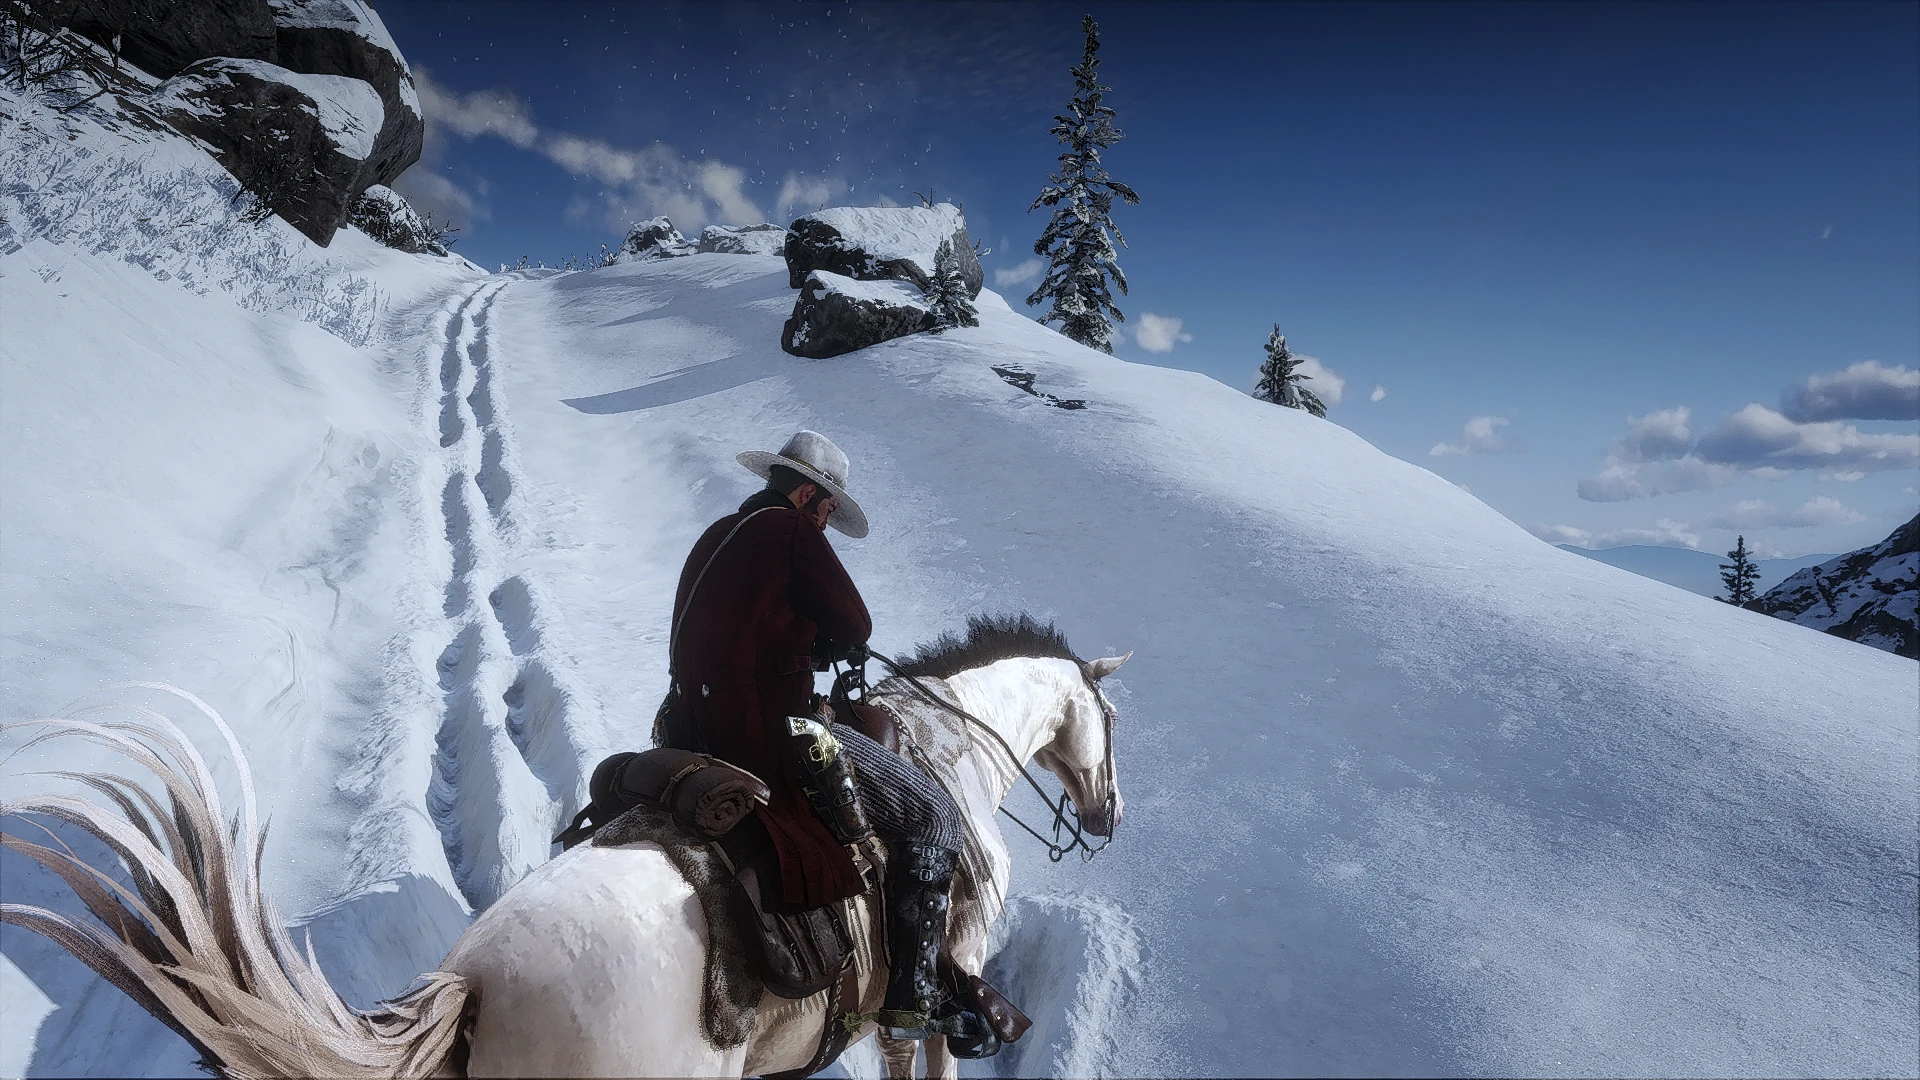
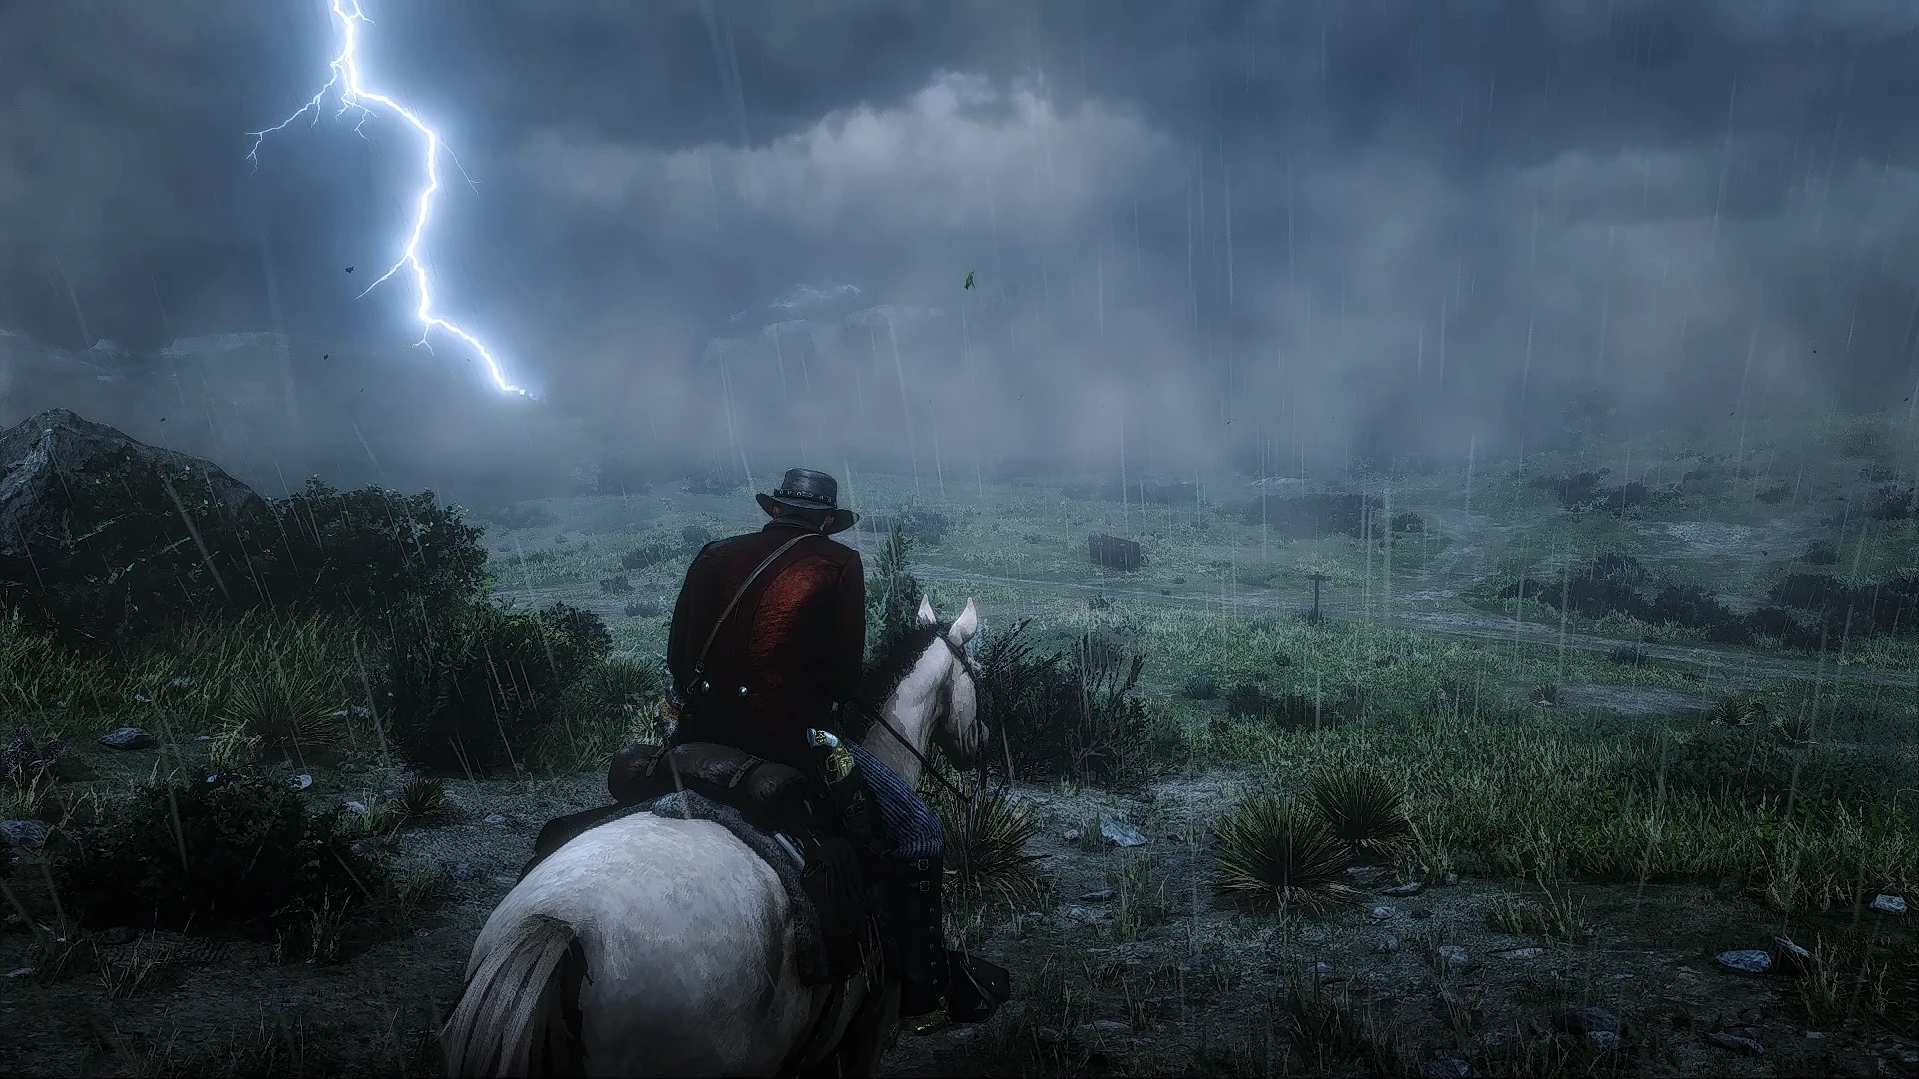
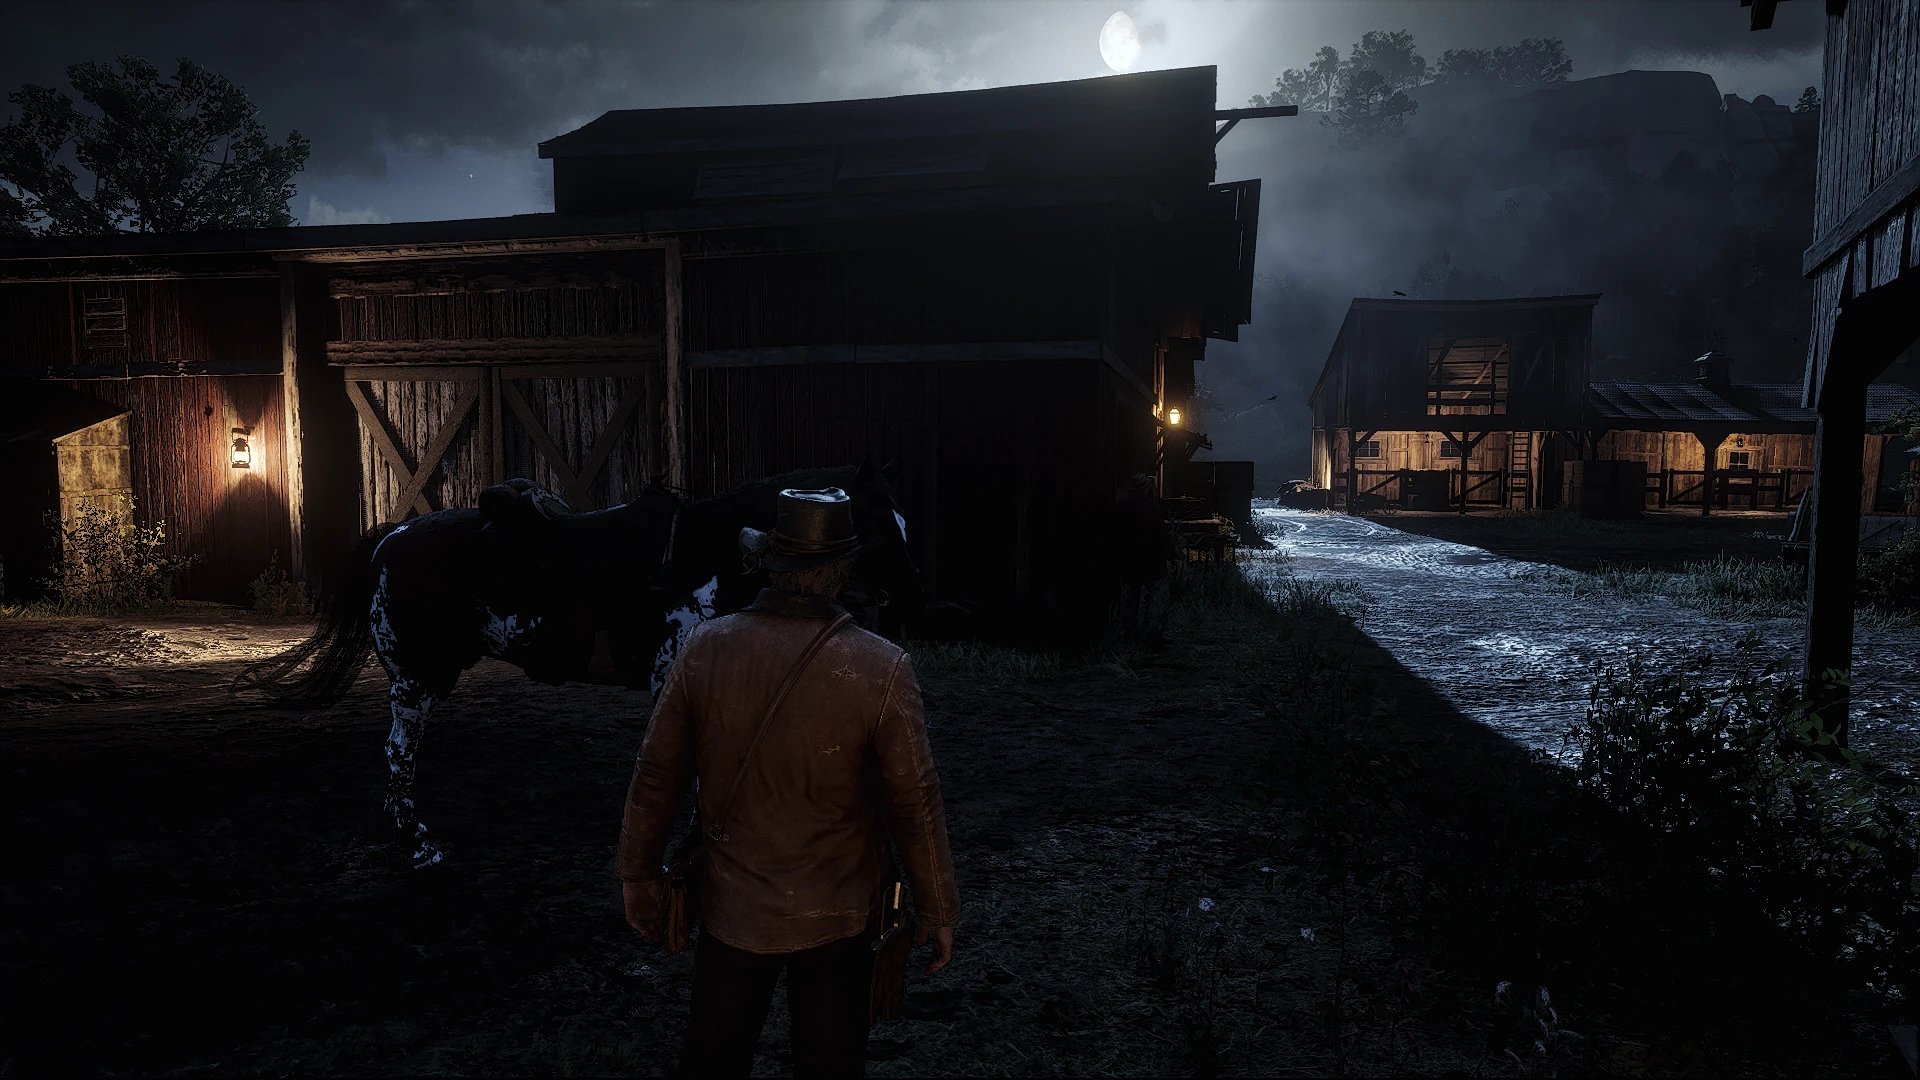
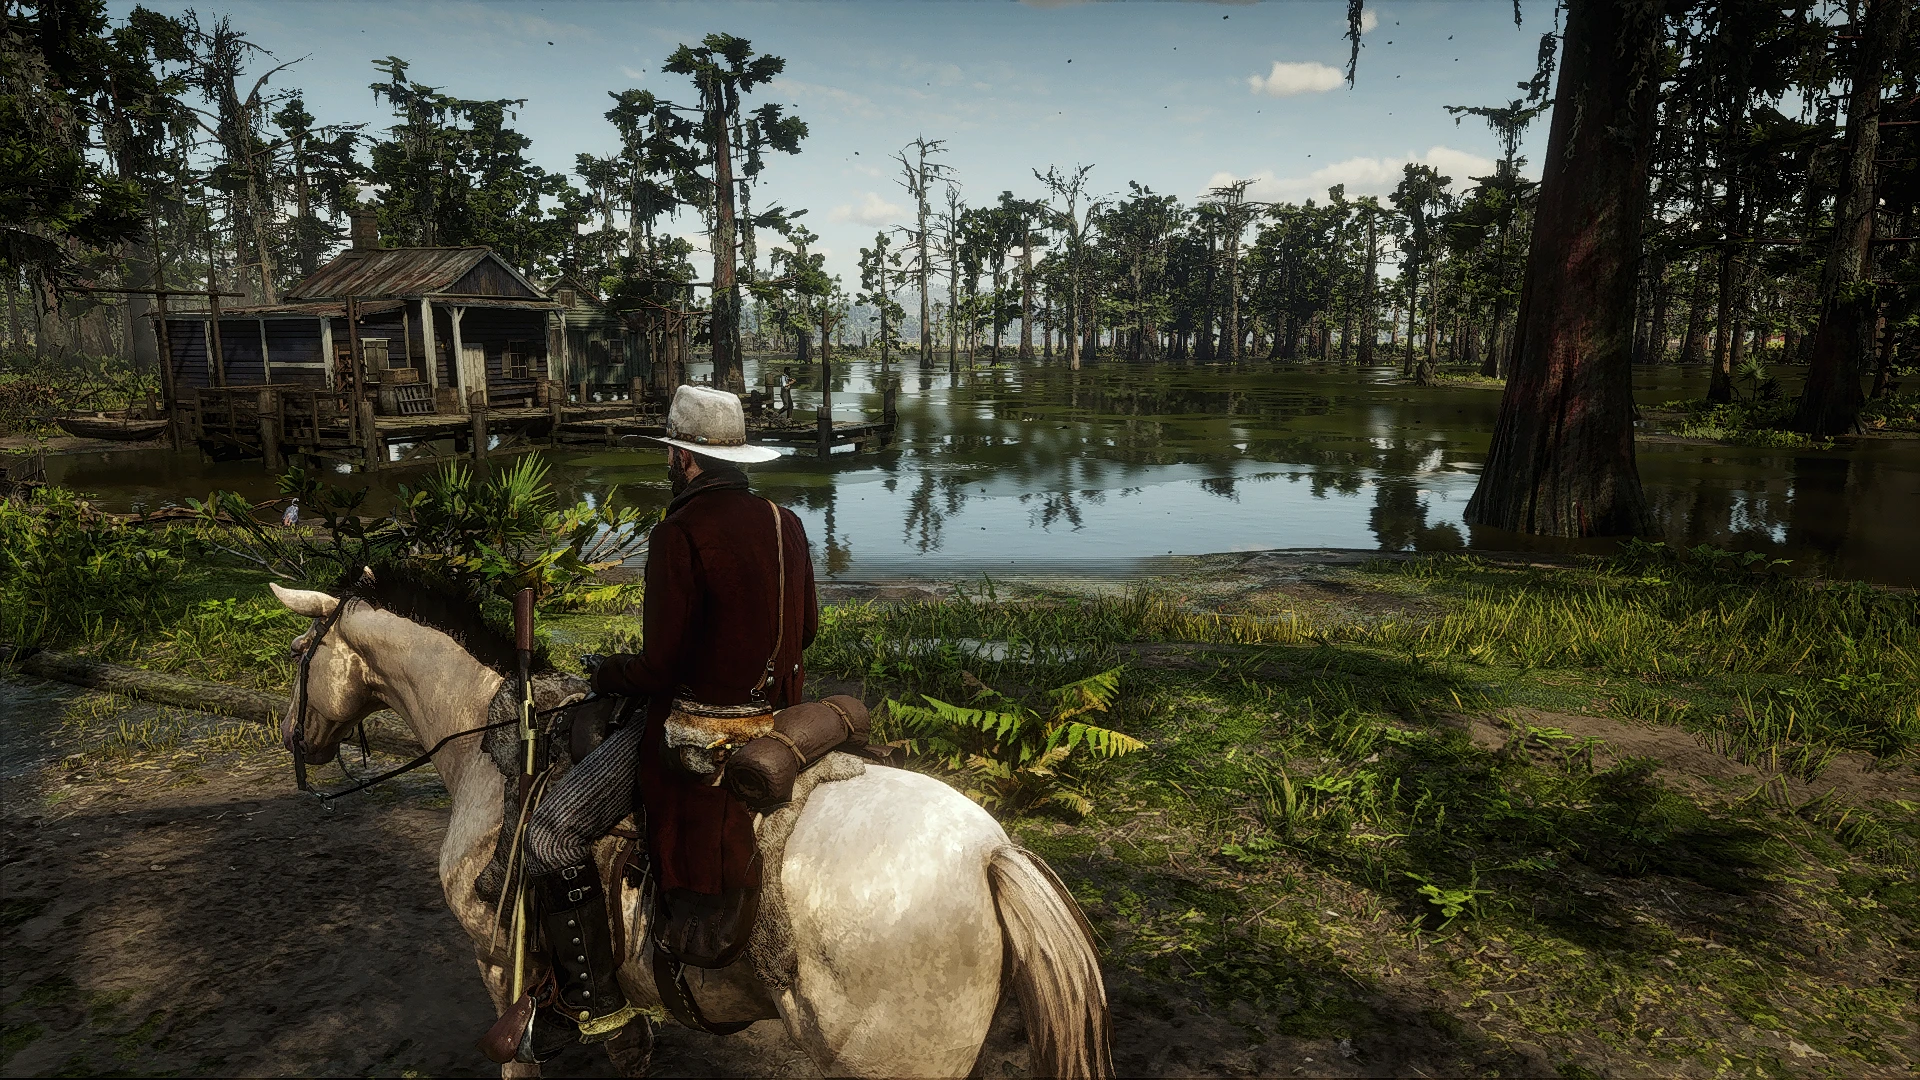
Make the Red Dead Redemption 2 environment more realistic and immersive, with natural colors and lighting, enhanced shadows, and balanced sharpness.
Installation Instructions
1 – Download Reshade
Go to the official ReShade website and download the latest installer: https://reshade.me/
2 – Install ReShade into Red Dead Redemption 2
Run the installer and select the game’s executable RDR2.exe
Choose DirectX 10/11/12 or Vulkan as the rendering API (Depending on your game settings).
When prompted, select all optional effects (this is mandatory for the preset to work correctly).
Disable HDR within the game so that reshade works as expected.
If any effects appear in red (error) in ReShade after installation, this is normal and will not affect my ReShade or your game, as they are not used.
3 – Place the Preset File
Copy the preset file .ini into the main game folder where RDR2.exe is located.
4 – Launch the Game
Start Red Dead Redemption 2.
Press Home (default ReShade menu key).
In the drop‑down menu, select the preset file you placed in the game folder.
5 – Enjoy the Visual Upgrade
You can toggle the ReShade menu on/off with the Home key, or customize the effects further if desired.
If you want to enable and disable ReShade effects, you can configure a key on your keyboard. Navigate to the Settings tab in the ReShade overlay, look for the option labeled ‘Toggle Effects’ or ‘Effect Toggle Key’, and choose a key that will enable or disable ReShade instantly.
Credits:
ReshadePro
Downloads
| Name | Format | Size |
|---|---|---|
| ReShade-Pro-Red-Dead-Redemption-2-1080p.rar | RAR | 7.77 KB |
| ReShade-Pro-Red-Dead-Redemption-2-2K-4K.rar | RAR | 7.77 KB |
To start download click the filename. To open archive files use one of these programs: WinRAR, 7-Zip, WinZip. Some mod archives may need to be extracted before the mods will work.