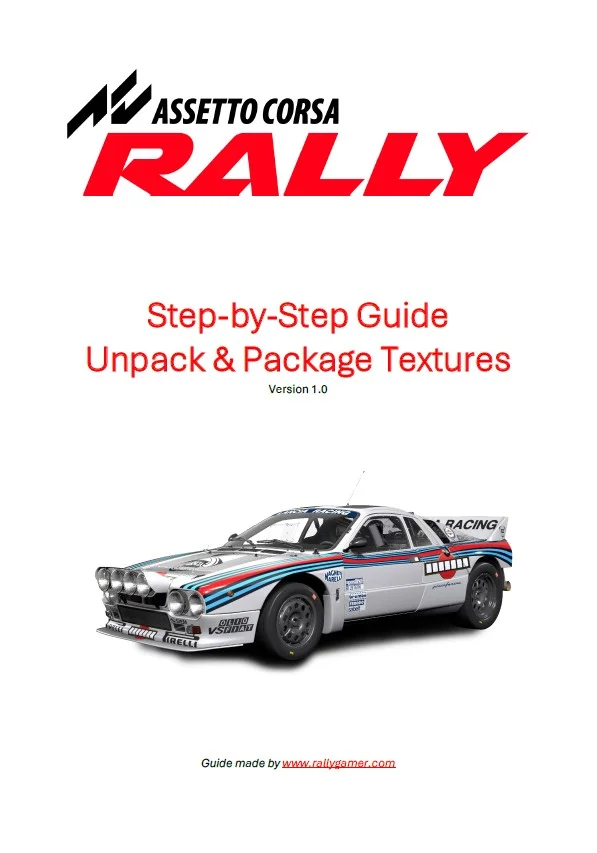
In this step-by-step (beginner’s) guide, we’ll show you how to extract textures from the game, assign the correct settings to them, and import the modified textures back into the game. We’ll also guide you through the installation and setup of all the tools and software required for the process.
The step-by-step guide covers the following:
– Introduction and How to Use This Guide
– General-Purpose Software Installation
– Game Mappings (.usmap)
– Installing FModel
– Unpacking Textures in FModel
– Modifying and Saving Textures in Photoshop
– Installing Unreal Engine
– Importing and Applying Texture Settings in Unreal Engine
– Installing the Livery in the Game
– Uninstalling the Livery from the Game
– Backup, Clean, and Restore an Unreal Engine Project
– Bonus: Updating the Car Selection Menu Images
– Bonus: Updating the Car Settings Menu Images
– Troubleshooting
– Appendix: Summary Key Texture Folders and Settings
Format: pdf
Pages: 57
Size: 8MB
Credits:
RallyGamer
Downloads
| Name | Format | Size |
|---|---|---|
| acr_step-by-step_guide_unpack__package_textures_v1.1.zip | ZIP | 7.29 MB |
To start download click the filename. To open archive files use one of these programs: WinRAR, 7-Zip, WinZip. Some mod archives may need to be extracted before the mods will work.