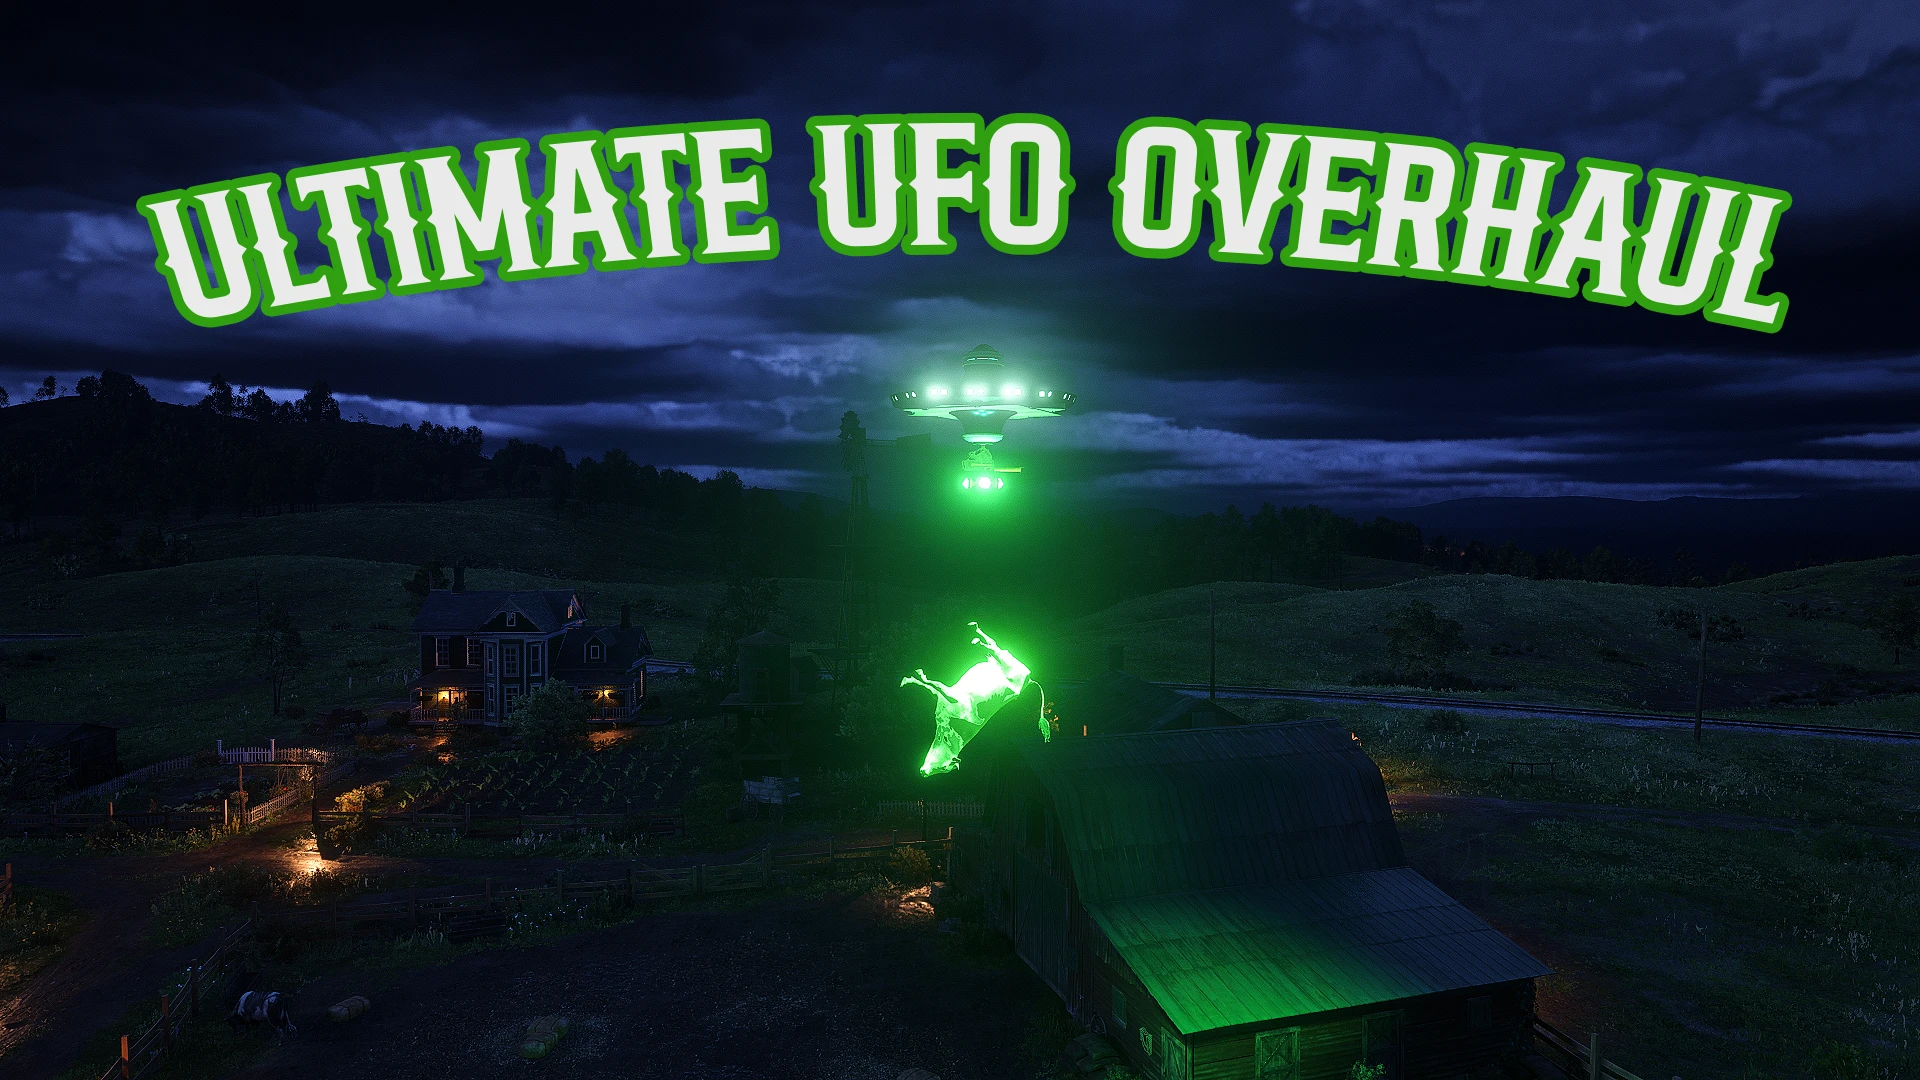
Aliens are invading!!! UFOs will now randomly spawn on the map, defeat the UFO to claim it as your own. Abduct peds, and any animal! Upgrade your UFO, with new weapons and tools! A complete and balanced experience that is fully customizable!
This mod is a complete standalone overhaul that adds a fully customizable UFO that you can fly, and upgrade. Enemy UFOs will spawn in at night, and you must defeat them! These enemies are not so easy to deal with, but when you manage to get them your reward will be their UFO. As soon as you board and pilot the UFO it is yours to keep, you can now dock with the Mothership to heal or upgrade your UFO. All your upgrades and UFO data is saved and stored, so it will always be persistent through your play sessions. I also offer full translation support, and a expansive ini config file that allows you to adjust pretty much everything!
Installation:
*Ensure you have ScriptHook V2 installed properly (This works with Alexander Blades Scripthook as well)*
Download the current version of UUFOO
Open the Zip, and drag UUFOO.ASI and UUFOO.INI into your main RDR2 file directory, where you installed Scripthook
When you first boot up the game you should get a .dat generated called UUFOO.dat
If you do not see the .dat, you must ensure that you set BOTH RDR2.EXE, and playRDR2.exe to be run as a administrator, this allows my mod to create and write its .dat files, which store your UFO status and upgrades. This mod will not function properly without those.
*Ensure you have Lenny’s Mod Loader installed correctly*
Download the UUFOO.Zip
Open the Zip, and drag the file called stream to the inside of your LML folder in your RDR2 main directory
NOTE: WHILE THE PED IS NOT A HARD REQUIREMENT FOR THE MOD, THE MODELS THAT WILL DROP OUT OF THE UFO WHEN YOU DEFEAT IT WILL LOOK LIKE NORMAL COWBOYS. I HIGHLY RECOMEND USING THESE PED MODELS.
Prompts
HOTKEYS:
Main Prompt Key
Keyboard : Hold Right Mouse Button (Configurable in the ini)
Controller : Hold Left Trigger (Configurable in the ini)
The main system to summon a UFO and gain access to it once you own it hinges off using these hotkeys to gain access to those prompts. You can fully customize what inputs are used to bring up your prompts, as well as customize what inputs are used for those prompts.
You can also press L ALT / D-PAD Down when holding the prompt hotkey to hide these prompts, toggling that key again will bring the prompts back
How to obtain a UFO
For the player to first obtain a UFO you must wait for a spawn to happen, this is set by default to happen every 3 days, you can customize this in the ini. The UFO will spawn during the hours between 20:00 – 8:00, and you will get a map blip called “Mystery”. The UFO can spawn from a list of different locations it will randomly choose from.
When the player approaches 100m within the area that the UFO spawned in at where the “Mystery” map blip is placed. The UFO will fly down and you will now see a enemy Health Bar at the top of your screen. This UFO is HOSTILE, for you to obtain this UFO you must drain its Health Bar to zero.
To attack the UFO it is as simple as just shooting any part of the object with your gun! There is a base amount of damage you do per shot, and then additional configs that allow you to adjust damage further based on weapon type / ammunition.
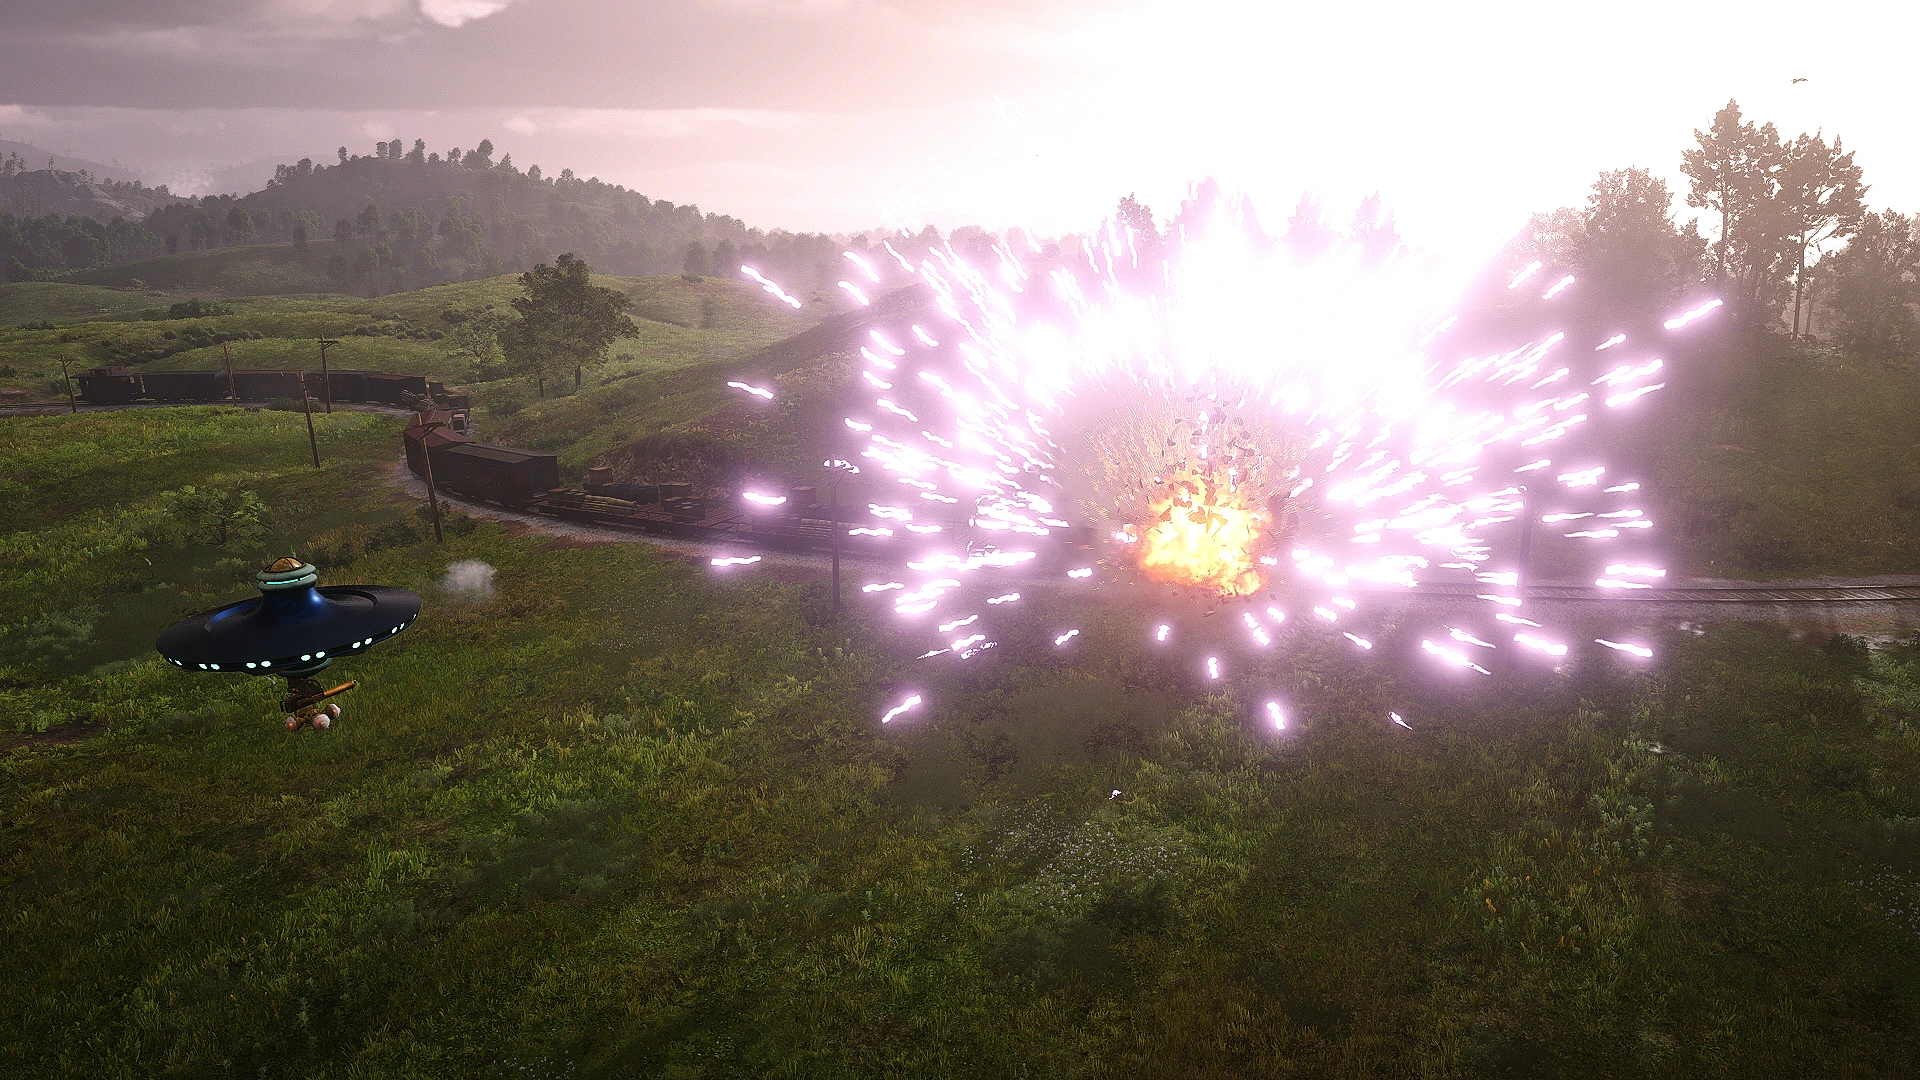
This UFO wont just sit by while you attack it, as soon as this UFO gets shot at or if the player gets too close to it within 50 m. The UFO will engage its attack protocol and shoot back at you. It has access to a machine gun, cannons, and pyrokinesis.
The UFO will remain over the spawn position, if the player either dies, runs 150m away from the UFO, or the time hits 8:00 AM the UFO will then leave. You can fully customize the UFOs damage, fire rate, and Health to make things easier or more challenging. I placed the UFO in spots that do not have much cover and will provide a challenge already at the base level.
Upon Defeating the Enemy UFO the alien pilot will drop out of the ship, and you can now enter the UFO by accessing the prompt menu.
These UFOs will always be damaged to 25% HP when you first enter them, requiring you to buy the Health Regen upgrade, or Dock at the Mothership.
How to summon UFO
HOTKEYS:
Main Prompt Key
Keyboard : Hold Right Mouse Button (Configurable in the ini)
Controller : Hold Left Trigger (Configurable in the ini)
You can summon your UFO by holding the main prompt hotkey, and you will see a new prompt called “Summon UFO.”
UFOs DO NOT SPAWN AUTOMATICALLY AND MUST ALWAYS BE SUMMONED ON GAME LOAD.
Your UFO will drop down from the school and land in front of the player, or the initial direction you were facing when you activated the prompt.
Once a player first enters a UFO they now own this craft and can call it back to them at any time. UFOs will automatically leave the player and return to the mother ship when you walk away 100m from the UFO. Once the player is 100m away you will see the UFO fly back up into sky.
You can only summon your UFO if it does not exist already.
How to lose UFO
The only way to lose your UFO is by taking damage from peds or other Hostile UFOs WHILE INSIDE THE UFO, once your UFO’s health reaches zero it will explode killing the player.
While the player is inside the UFO they are symbiotically linked, your player’s health bar reflects the UFO’s health.
After the player respawns their UFO will be gone and you will no longer be able to “Summon UFO”. You will have to wait for another UFO spawn to happen, and defeat that UFO to claim a new one.
Entering UFO
HOTKEYS:
Main Prompt Key
Keyboard : Hold Right Mouse Button (Configurable in the ini)
Controller : Hold Left Trigger (Configurable in the ini)
The player will always have access to “Enter UFO” when holding down the main prompt hotkey, while being 50m near a non hostile UFO.
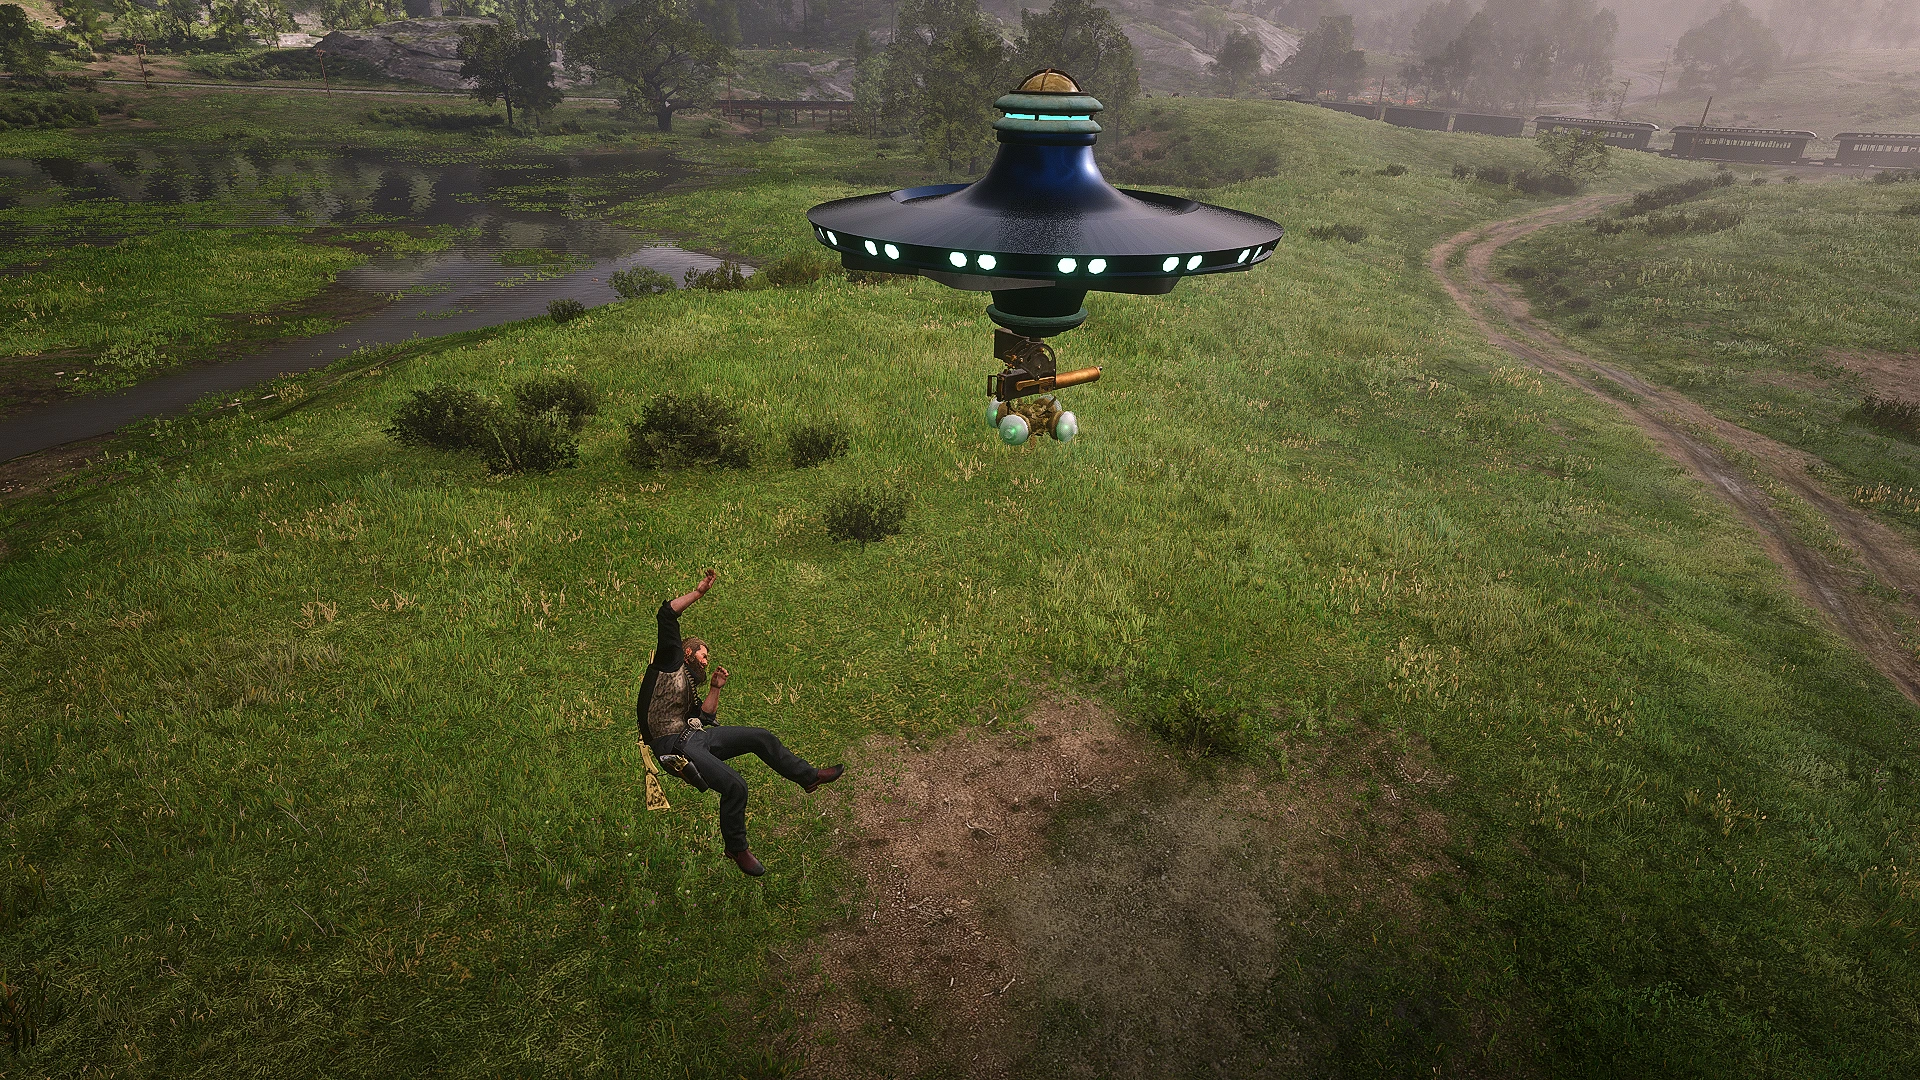
When the “Enter UFO” prompt is activated the player will be lifted and thrown into the air towards the UFO, as its tractor beam attempts to absorb you. Physics and gravity will affect you, so you might get sling shot or stuck on objects, the best approach is to enter the UFO from directly below it.
There is a failsafe that will always pull the player into the UFO if they get stuck or end up landing on the UFO’s roof.
Exiting UFO
While you are piloting the UFO you will see a list of new prompts, one of those will be the “Exit” prompt.
Activating this prompt will make the player exit the UFO at what ever height it is, and fall to the ground.
The UFO will always apply a anti gravity field around the player before they hit the ground, providing you a soft cushion, preventing any damage or death.
This will always apply no matter what whenever the player exits the UFO, even if the UFO leaves as you fall from higher altitudes.
UFO movement
Hotkeys :
Increase Altitude
Keyboard : Q
Controller : LB
Lower Altitude
Keyboard : L Ctrl
Controller : RB
Brake
Keyboard : Q + L Ctrl
Controller : LB + RB
The UFO freely move in any direction, as well as up and down on the z axis.
The longer the player holds the movement key / stick (WASD / LS) the faster the UFO will go. The UFO has a top speed it will cap out at but once it gains the speed it will continue to have that momentum unto the player either brakes or stops inputting movment completely.
You can gauge the amount of speed and momentum the UFO is carrying based on its spin, the faster the UFO is spinning the more speed and momentum it has.
There are no prompts for these buttons so make sure you know the hotkeys on how to increase / lower your altitude. These also will gain speed and momentum as you hold them increasing how fast you ascend or descend.
There is a hard cap on how low to the ground the UFO can hover that will keep you always 6m above ground level. This also means that buildings, objects (trees, and powerlines), and mountains will always push your UFO up. I designed it so its not a immediate snap, but its definitely not 100% perfect.
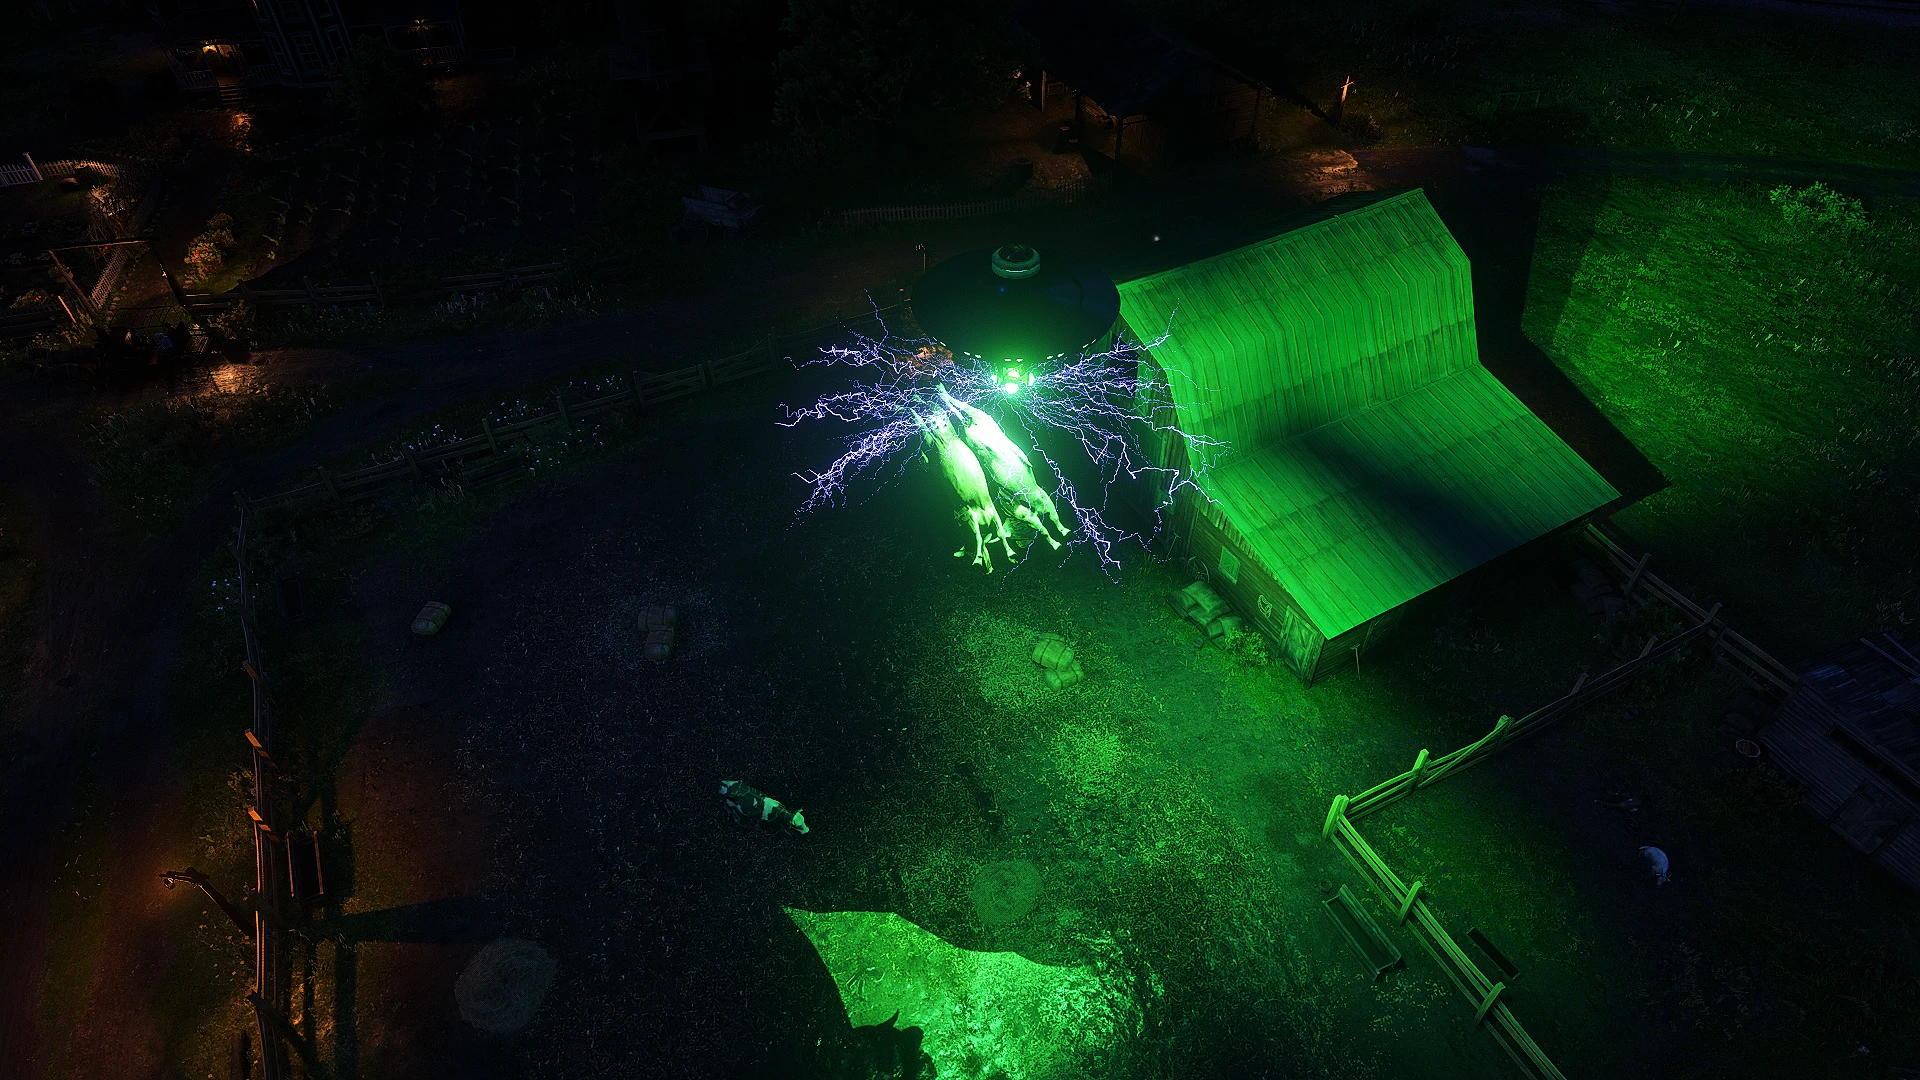
Tractor beam
The Tractor Beam is the main weapon you will always start out with when you first acquire your UFO. This is all you need to begin collecting the resources you need for your upgrades.
When you press and hold the “Engage Tractor Beam” prompt your UFO’s Lights will now turn a different color (default = blue ), and it will start spinning the opposite direction.
The Tractor Beam will pull up peds that are at least 50m directly below it, and 5m within the ufo. When peds are being pulled up they will all be affected by physics and gravity, you can fling them, or stop the pull mid air to drop them.
Once a ped reaches within 1m of your UFO’s Lights it will begin to get absorbed into the UFO, a whole unique animation should play out and the peds will be gone.
Human Peds will always give you money, additional sellable loot, as well a chance to HARVEST THEIR BRAIN. All of these options are ini configurable.
Animals that you absorb will be automatically skinned, and added into your inventory. Some animals only provide you with the skin and no carcass, these are all the larger animals (cows,moose, buffalo, bears, elk, etc.). Smaller animals will usually only provide their carcass, pretty much every animal is fully supported and will provide its correct material. This includes the animals skin quality, as well as legendary animals. You can freely absorb birds out of the air, as well as fish from the water.
THESE ANIMAL SKINS AND CARCASSES WILL NOT BE SHOWN IN YOUR SATCHEL’S INVENTORY, IT WILL ONLY BE SEEN IF YOU GO TO A TRAPPER, BUTCHER, PEARSON, OR THE MOTHERSHIP. SKINS AND CARCASSES FREELY STACK UP IN YOUR INVENTORY AS WELL, NO NEED TO WORRY ABOUT LIMITS.
Mothership
Hotkeys :
UFO Menu Navigation
Keyboard : Up Arrow
Keyboard : Down Arrow
Keyboard : Enter
Keyboard : Backspace
Controller : Up D-pad
Controller : Down D-pad
Controller : A Button
Controller : B Button
While you are inside your UFO you will now see a new Map blip above FLAT IRON LAKE called “Mothership.”
The mother ship is located at that blips location, it is flying in the air right above the cloud level. Whenever the player gets within 200m from the UFO they will then lose control and be pulled into the Mothership. Ideally you want to go to the blip near the water and then fly up, so you will just get pulled in, but it will grab you from any direction you come from.
Once the Mothership has you fully docked, your UFO WILL BEGIN TO HEAL.
You will only have two prompt options from here, you can now open the “UFO Menu” this is where you will find all of your Upgrades. The other option is to undock from the Mothership if you are done with everything.
When you undock from the Mothership it will eject you downward back to the surface and then you will fully get your controls back.
Space cash
Upon installing this mod you will now gain access to a new resource that you can use for your UFO upgrades, this is the SPACE CASH.
Space Cash can only be earned by trading in human brains, or PERFECT cow skins, you will receive a set amount of Space cash that you can adjust in the ini.
Space Cash is used for the non weapon upgrades to your UFO. Health Bar upgrades, Shield upgrades, Phoenix Shields, and Health Regeneration all cost a set amount of Space Cash.
Health bar
This mod will provide a fully customizable Health Bar for your UFO. Your health will be persisted and tracked between game play sessions.
You can freely adjust the base amount of your Health Bar, as well as the Health Upgrades. Each Health Upgrade you buy will be stacked onto the last ( default max = 1500 HP ).
IT IS HIGHLY RECOMMENDED TO USE THIS OPTION, WHILE YOU CAN TURN IT OFF, IT WILL MAKE ALL NON WEAPON UPGRADES USELESS. DAMAGE TRACKING ALSO WORKS BETTER WITH THE CUSTOM HEALTH BAR.
Shield
Once you purchase the first Shield Upgrade you will now see a new Health Bar over your default one.
This shield is brittle and will only protect a few shots at lower levels, however the shield will constantly regenerate after the player has not be hit for a set duration of time.
When you own a Shield you will visibly see bullets bounce off a invisible force field not able to hit your UFO.
You can fully customize the amount, refill speed, and even color of the shield bar
Pheonix shield
When purchased this upgrade can not be activated manually, this upgrade will always be activated automatically when the players Health Bar reaches 0-1%.
Right before you blow up from taking fatal damage, this will save you giving your massive hit point shield that lasts for a extended duration, to ensure you can escape or survive whatever threat.
This upgrade is a one time use, once it has been activated then it has been consumed, and you must purchase another one.
Machine gun
HOTKEYS :
Aim Down Sight
Keyboard : Hold Right Mouse Button
Controller : Hold Left Trigger
This is the main primary fire for the UFO, you must acquire this upgrade from the mothership
NOTE: The damage and weapon will be identical to whatever you have set for the “Maxim Gun” weapon in your Weapons.ymt. or the base games default
Machine gun ammo types
HOTKEYS :
Swap Ammo Type
Keyboard : L Alt
Controller : D-pad Down
There are two types of ammo upgrades you can acquire from the Mothership.
Incendiary ammo will ignite your targets on fire and leave fire wherever you shoot. Explosive ammo will leave a explosion at the bullets impact.
The player can swap between these ammo types by using the “Swap Ammo Type” hotkey there is no prompt for these. You will always get reset back to Regular ammo when exiting the UFO or swapping from the cannon.
Cannon
HOTKEYS :
Aim Down Sight
Keyboard : Hold Right Mouse Button
Controller : Hold Left Trigger
You are able to acquire a cannon upgrade to your UFO allowing you to fire cannonballs for massive damage.
Once this upgrade is acquired you will see a new prompt called “Swap Weapon” while inside your UFO. Pressing this will swap you to the cannon seat. While you are seated in the cannon you will have different prompt options and some unique ones only used for the cannon.
One of these unique prompts is called “Lob Shot” the lob shot feature allows the player to shoot a cannonball that will fall directly below the player.
The “Lob Shot” is useful as the cannons aiming range is more limited then the machine gun. The player also can not move after firing a cannon shot, they have to reload first. This was due to game limitations and to prevent a ugly clipping bug, but once you upgrade the cannon it feels more balanced to have it like this.
Mega cannonball
HOTKEYS :
Swap Ammo Type
Keyboard : L Alt
Controller : D-pad Down
Much like the additional Machine Gun ammo types you can upgrade, there is also a upgrade for your cannonballs.
When you acquire this upgrade it will always default your cannonballs to fire the Mega ones first, you can swap back to regular cannonballs by pressing the “Swap Ammo Type” hotkey.
These Mega Cannonballs have a much larger impact radius, and will devastate anything near the impact radius.
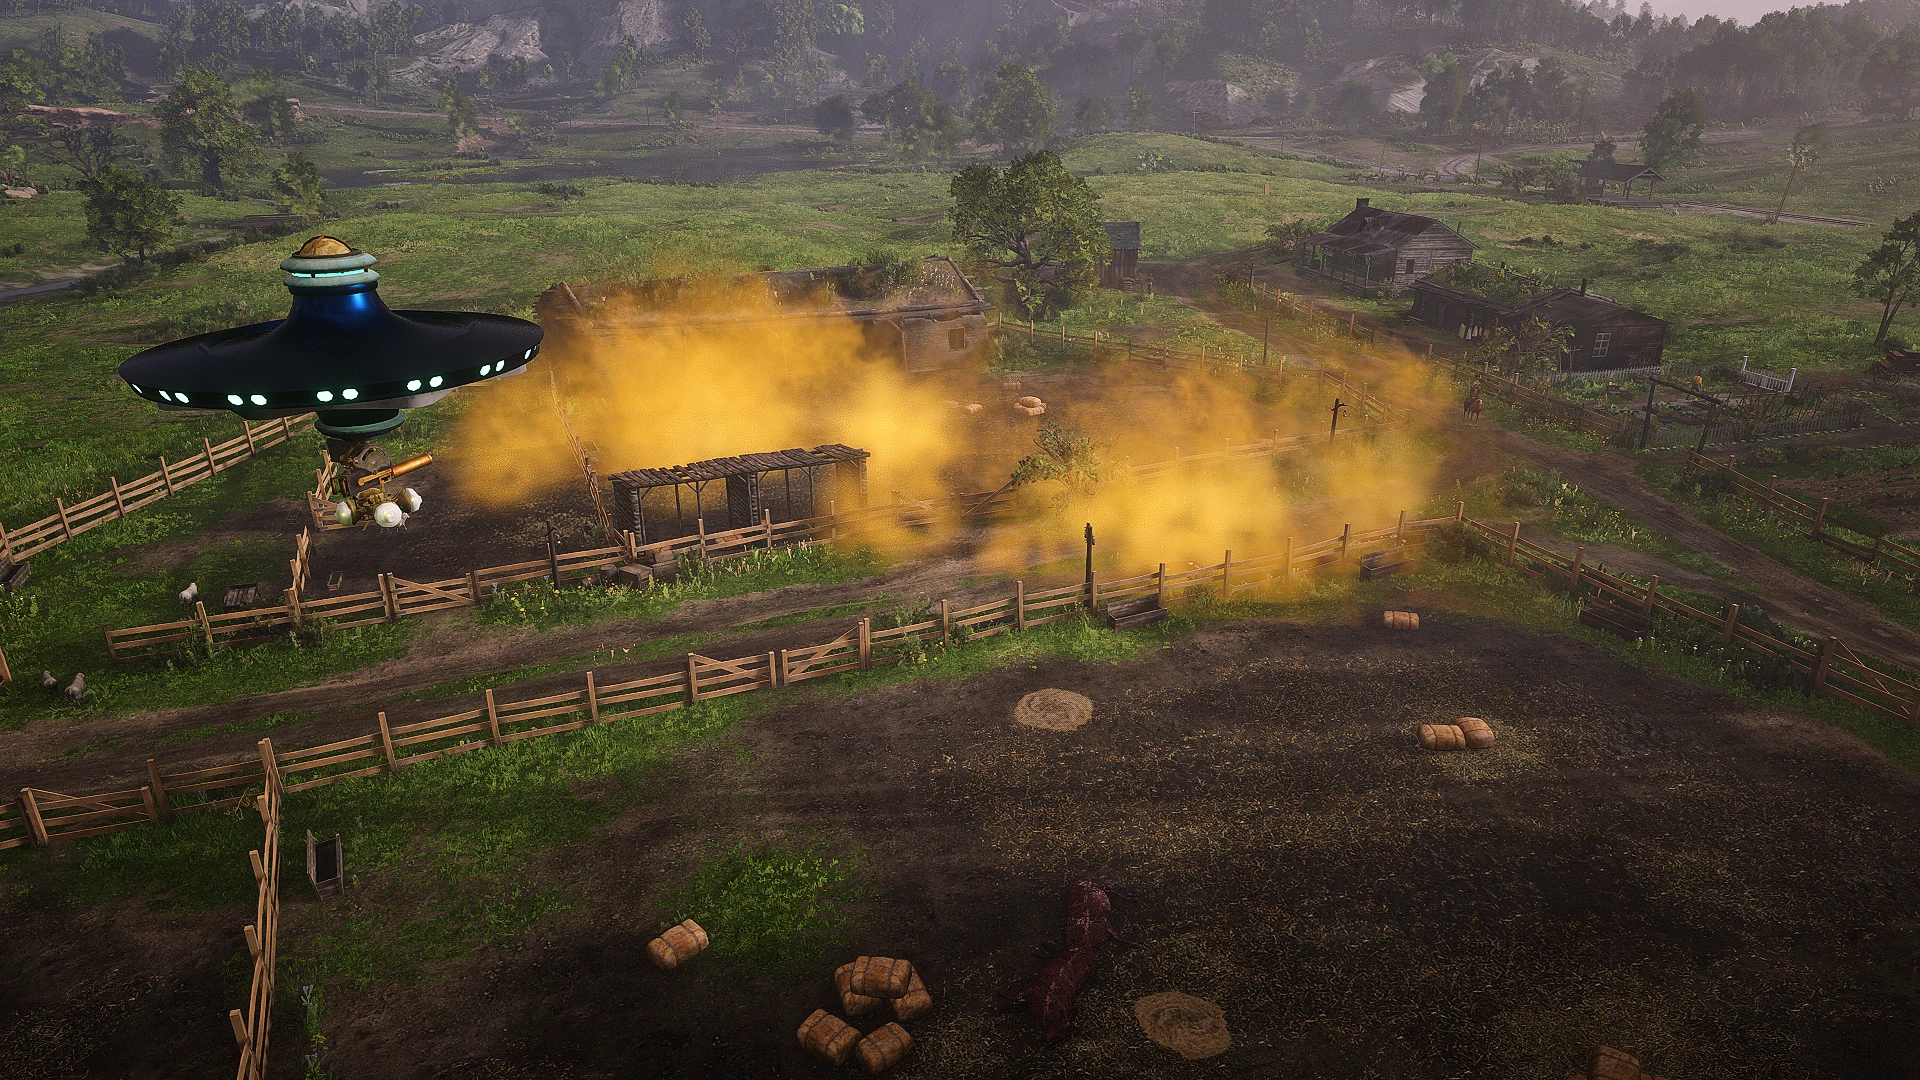
Nerve gas
This is a upgrade only for the cannon, so you can not use this if you do not own the cannon upgrade.
Once acquired you will be able to toggle this option on or off with a prompt. When it is toggled On every cannonball you shoot will now leave a cloud of Nerve Gas at its location. This Nerve Gas will do massive damage to any enemy caught in it, it applies Damage Over Time (DOT).
This gas works on all peds including animals, and should kill animals without doing damage as long as they avoid the main cannon shot.
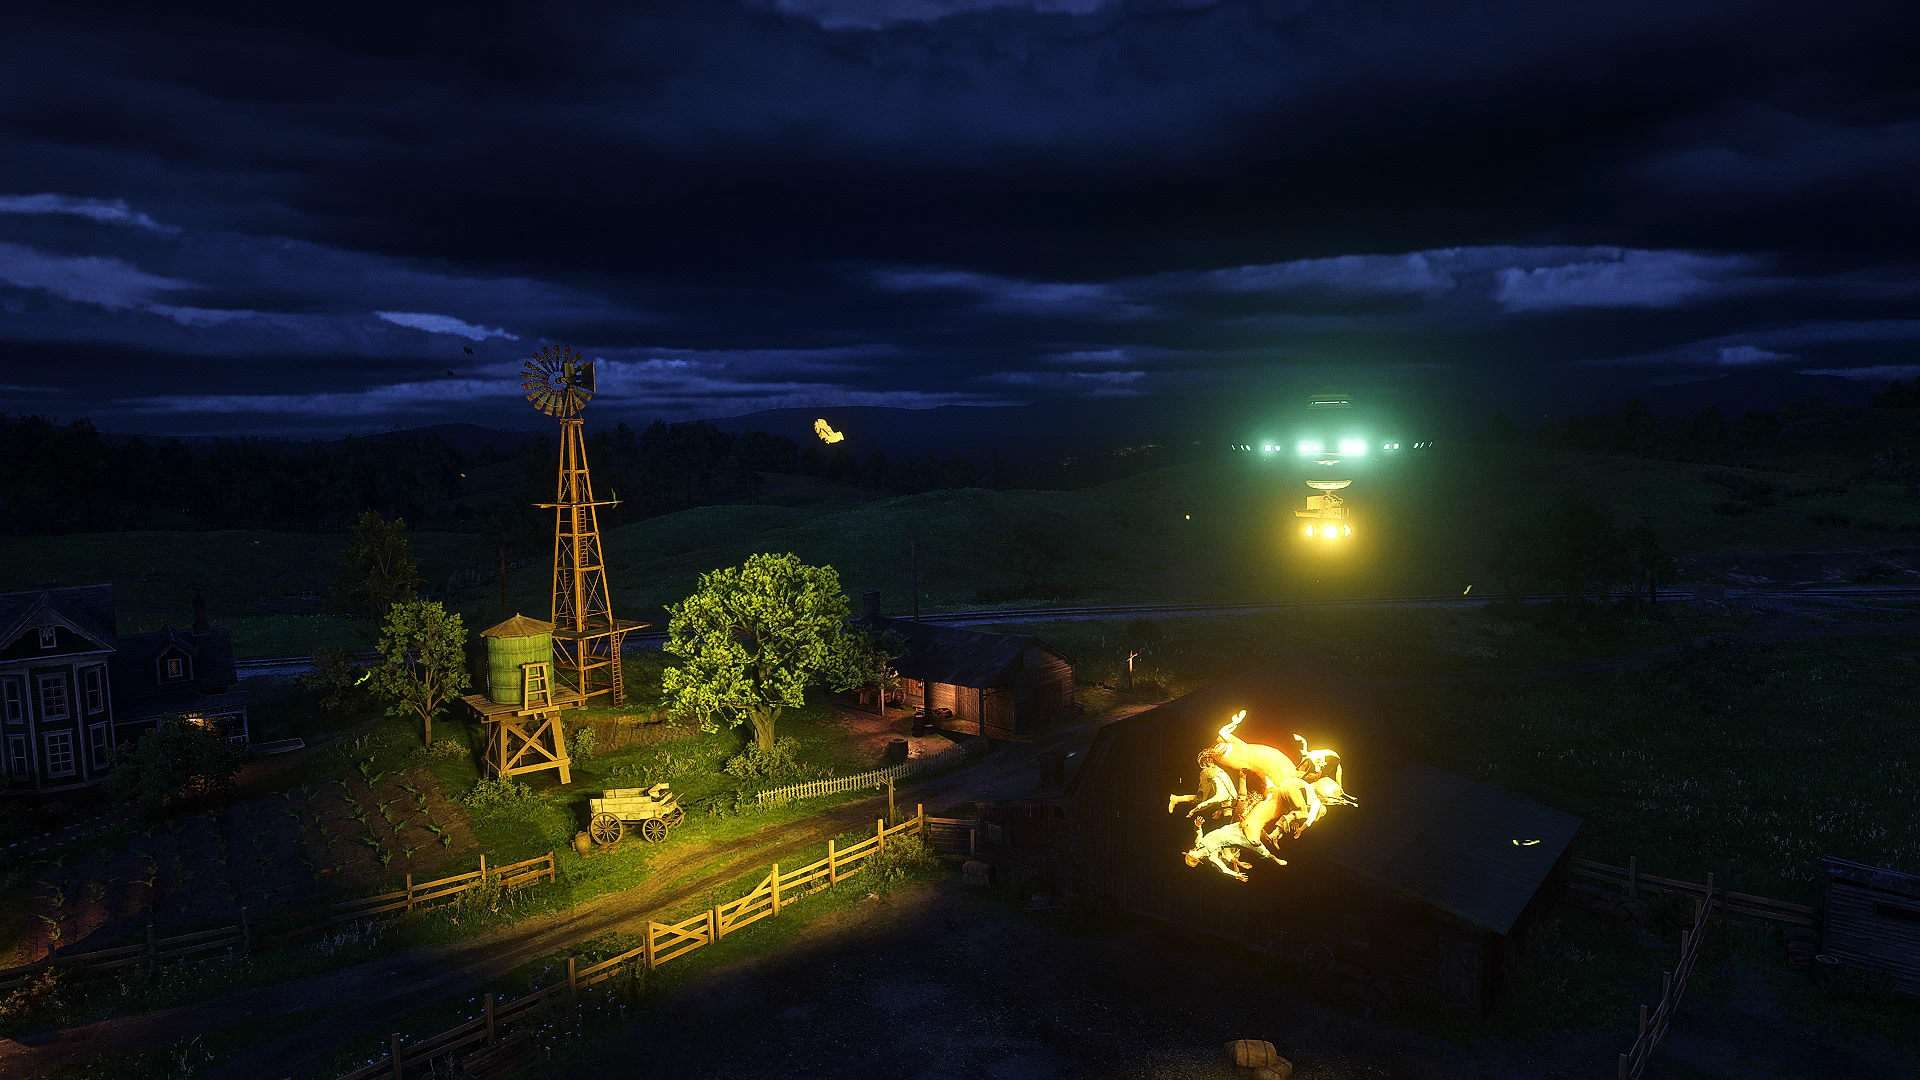
Gravity gun
HOTKEYS :
Aim Down Sight
Keyboard : Hold Right Mouse Button
Controller : Hold Left Trigger
This weapon upgrade only works on the Machine Gun, once acquired you will see a new toggle prompt.
When you have the Gravity Gun activated and toggled On any ped that you “Aim Down Sight” at, will pull that ped into your gravity field. Once they are in your gravity the ped will now follow behind your UFO.
While this remains toggled On you will see a new prompt called “Launch Gravity Gun”, when this is activated it will launch the peds you have picked up at the direction you are aiming at. These peds will take fall damage and ragdoll on impact, you can also hit other peds, and wagons with them.
You can move around and use your speed and momentum to Sling Shot peds as well by toggling this off mid flight, they will carry the momentum you created. If you move too fast peds will fall behind but they should always catch up eventually unless they got stuck on something.
There is a max limit to 15 peds that you can pick up with the gravity gun, even with this limit sometimes peds might T-Pose and not get picked up properly. Launching them will fix this usually. You also can only pick up peds with this, any animal or human works. This will not work with objects or wagons.
Pyrokinesis
This weapon upgrade is only for the Machine Gun, you will see a new prompt that is called “Ignite Target”. NOTE: THIS DOES NOT WORK WHILE GRAVITY GUN IS ACTIVE.
When you activate this prompt if you are aiming at any ped, wagon, or object (things like buildings and props wont work) it will spontaneously combust. You can activate this explosion as many times as you like as long as you are aiming at something.
Slow time
You can access this weapon upgrade in either Machine Gun or Cannon mode. You will see a new toggle prompt called “Slow Time”.
When this is toggled On time will slow down, the UFO’s movement is not affected by this. Your weapons will be however, so shooting the machine gun or cannon will be in slow mo. The Gravity Gun, and Pyrokinesis react almost normally.
You can fully configure how much time gets slowed down inside the ini.
Sentry mode
HOTKEYS:
Main Prompt Key
Keyboard : Hold Right Mouse Button (Configurable in the ini)
Controller : Hold Left Trigger (Configurable in the ini)
This weapon upgrade lives outside of the UFO, so you can only activate this when YOU ARE NOT IN THE UFO.
You need to hold the “Main Prompt Key” while you have a UFO summoned, you can activate whenever you are 100m within the UFO so the full radius for the UFO.
Upon activating this prompt Sentry Mode is toggled On, your UFO will now follow behind you shooting enemies for you. Any enemy that gets within a designated radius will be added to the UFO’s Attack target list. It will continue to add any enemy into the list, but it will not move to the next enemy unless it kills its current target first.
You can toggle a Manual Aiming mode where the sentry will only shoot what you are directly aiming at. This will clear the attack target list if toggled on mid combat. There is no detection range for Manual Mode, you just simply need to be holding aim at any ped or object with a weapon.
Hostile UFOS
Once the player owns a UFO you will now be targeted for attacks from aliens. This attack will happen after a set amount of days, and at a a random hour of that chosen day.
These hostile UFOs will track down your location immediately and begin their assault, you can not run away from these UFOs. Your only options are either to destroy it or die.
You can freely fight this UFO on foot, or have a dog fight in the air with your UFO.
The ini offers a whole section of customization for these UFOs.
Ranch spawn restrictions
Due to limitation in the game engine, I had to forcibly implement a feature that would restrict the ranches across the map from respawning cows. Whenever the player would absorb a cow with the tractor beam, the cows will infinitely respawn outside of the ranch. This would lead to easy exploitation and could ruin the dynamic for UFO upgrades.
Now when the player absorbs a FARM ANIMAL, a spawn restriction will be placed for a set amount of days, you can still absorb the remaining peds left on the ranch. However they wont respawn until those days have passed.
FARM ANIMALS = Cows, Pigs, Horses, Chickens, Sheep, Goats, and Bulls
Controls
HOTKEYS:
Main Prompt Key
Keyboard : Hold Right Mouse Button
Controller : Hold Left Trigger
Swap Ammo Type
Keyboard : L Alt
Controller : D-pad Down
Aim Down Sight
Keyboard : Hold Right Mouse Button
Controller : Hold Left Trigger
UFO Menu Navigation
Keyboard : Up Arrow
Keyboard : Down Arrow
Keyboard : Enter
Keyboard : Backspace
Controller : Up D-pad
Controller : Down D-pad
Controller : A Button
Controller : B Button
Increase Altitude
Keyboard : Q
Controller : LB
Lower Altitude
Keyboard : L Ctrl
Controller : RB
Brake
Keyboard : Q + L Ctrl
Controller : LB + RB
Fonts
You can adjust the Font used for the Mothership’s “UFO Menu’. There is a ini section where you can change it.
These are all the options that you can choose from : body, body1, catalog1, catalog4, catalog5, chalk, Debug_BOLD, Font5, gamername, handwritten, ledger, title
Q&A
A : While I have not tested every single mod with this, I do have a heavily modded setup that I used throughout the creation of this mod. So far I found no conflicts with any other mod that would a cause issue.
Q : Why does the UFO have a Globe on top of it?
A : The UFO objects have a really bad lighting effect that you can not adjust or remove, they are blinding in the dark and block the players vision. To prevent this I figured out that placing objects over the lights will block it, so I was limited to find objects that fit the right profile and looked good enough to mix with the UFO esthetic.
Q : Will you add more upgrades or weapons?
A : I don’t have any more ideas really right now, if any one wants to comment and suggest something that would ok. If any of the ideas sound fun and are easy enough to implement I can add them in perhaps
Q : Can I fly the Mothership?
A : As of now there is no plan for future implementation that would support this feature, like mentioned above the UFO objects have a weird lighting problem and the Mothership is no exception which you will notice when going to it at night.
Credits:
alejahH
Downloads
| Name | Format | Size |
|---|---|---|
| UUFOO1.1.zip | ZIP | 230.78 KB |
To start download click the filename. To open archive files use one of these programs: WinRAR, 7-Zip, WinZip. Some mod archives may need to be extracted before the mods will work.